ZFS Boot Mirrors on Proxmox 8 for the Homelab - Part 3
· 9 min readPart 1 covered replacing a failed ZFS boot mirror drive with one of the same size. Part 2 covered the emergency recovery when both drives fail simultaneously. This is the planned version of that same fresh-install procedure — applied deliberately when your replacement drives are smaller than the originals, with a UEFI upgrade included.
The backup checklist and recovery steps here were refined across the Harlan emergency (Part 2), the Quell sequential drive swap, and the Edgar planned migration. Any planned infrastructure migration should have a documented rollback path before you start — the Golden Backup checklist below is that path. This is the procedure I’ll follow for the remaining cluster nodes as their spinning rust ages out.
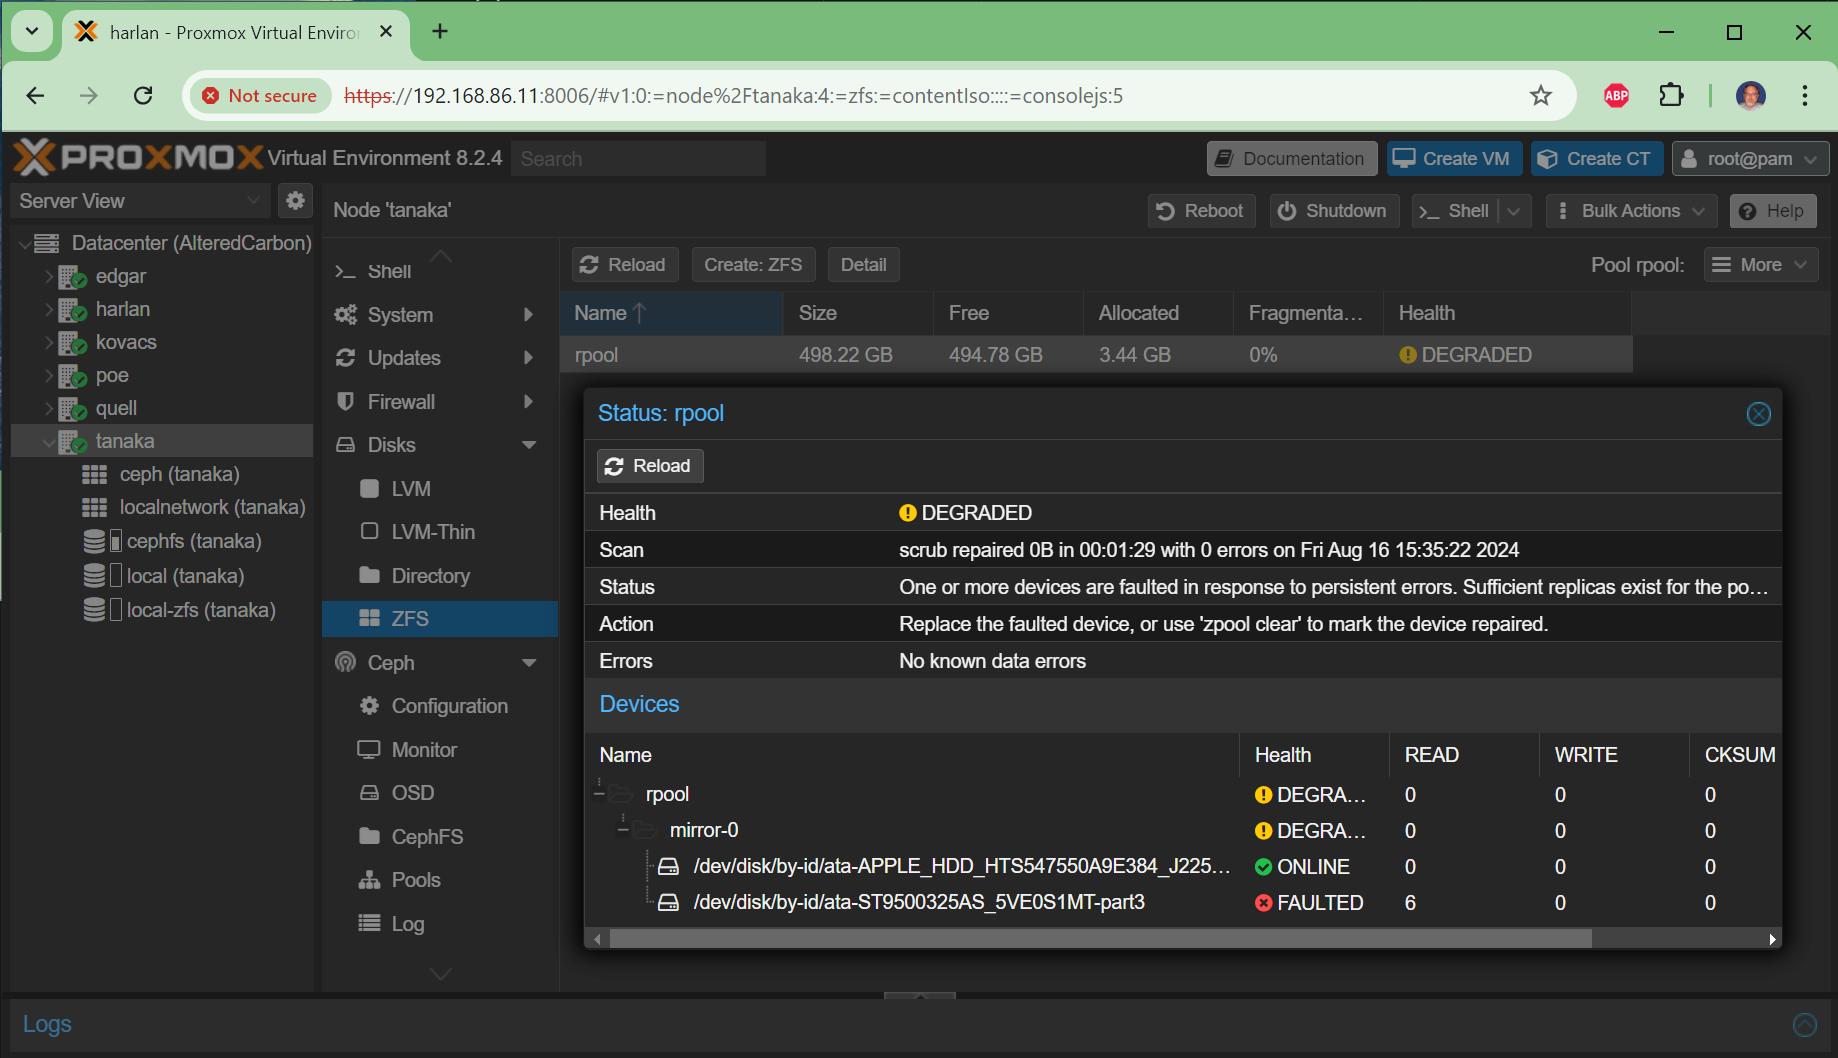
In my case, the cluster nodes have 500GB or 1TB spinning rust HDDs as boot mirrors but only use 3-7GB of actual space — Ceph handles all the real storage. Replacing them with 128GB SSDs makes sense on cost, speed, and reliability grounds. But ZFS won’t let you add a smaller drive to an existing mirror:
root@tanaka:~# zpool attach rpool ata-existing-part3 /dev/disk/by-id/ata-smaller-ssd-part3
cannot attach /dev/disk/by-id/ata-smaller-ssd-part3 to rpool: device is too small
Why Fresh Install Instead of ZFS Send/Receive
My original plan was to use zfs send | zfs receive to migrate data from the larger pool to a new smaller pool without reinstalling. There are documented approaches for this — a Reddit tutorial, a shell script, and Aaron Lauterer’s migration guide. I spent time researching and partially testing this path on tanaka before abandoning it.
The problem is that send/receive only solves one thing — the disk size mismatch. It leaves you on the same Legacy BIOS with GRUB, the same aging OS install, and the same accumulated configuration drift. After working through the Harlan and Quell recoveries documented in Part 2, I realized the fresh install approach solves multiple problems at once:
- UEFI upgrade. Legacy BIOS and GRUB are technical debt. Proxmox already prefers
systemd-booton UEFI installs, and PVE 9.x is coming. Every node left on Legacy BIOS is a node that will need extra attention during the major version upgrade. A fresh install is the clean path to UEFI — you can’t switch boot modes with a send/receive migration. - Clean OS state. Years of package upgrades, configuration changes, and accumulated cruft disappear. The fresh install starts from a known-good baseline.
- The send/receive procedure is fragile. It requires creating a temporary pool, migrating snapshots, swapping pool names, and updating boot UUIDs — all on a live system. One mistake and you’re doing a fresh install anyway.
- You’re already touching the hardware. If you’re pulling drives and swapping SSDs, the incremental effort of a fresh install is small.
- The Ceph data is safe regardless. OSD drives are completely independent of the boot pool. A fresh install doesn’t touch them.
The key insight from the Harlan recovery was that the hard part isn’t the install — it’s preserving the node’s identity so it can rejoin the cluster and reclaim its OSDs. Once you have a solid backup checklist, the fresh install path is actually less risky than the in-place migration.
GRUB Is the Real Problem
In a Proxmox ZFS-on-root setup, GRUB and Legacy BIOS are a constant source of friction. During the Quell recovery, grub-install failed with an “unknown filesystem” error because it doesn’t understand ZFS partitions directly — we had to work around it with proxmox-boot-tool every time. On UEFI with systemd-boot, this entire class of problem disappears. The boot partition is a simple FAT32 ESP that every tool understands.
With PVE 9.x on the horizon, staying on Legacy BIOS means risking boot issues during the major version upgrade. Converting one node at a time during planned SSD migrations is far less stressful than dealing with it during a cluster-wide upgrade.
Which Path Is Right for You?
| Situation | Approach |
|---|---|
| One drive failed, replacement is same size | Part 1 (zpool replace) |
| Both drives failed simultaneously | Part 2 (emergency fresh install) |
| Planned migration to smaller drives | This article (planned fresh install with UEFI upgrade) |
| Node has no Ceph OSDs | Simpler — skip the OSD reactivation steps |
The difference between this article and Part 2 is timing. Part 2 is an emergency recovery when the node is already dead. This article is a planned migration where you control the schedule and can prepare thoroughly.
The Golden Backup Checklist
This checklist was refined across the Harlan emergency recovery and the Quell and Edgar planned migrations. Every item earned its place by causing problems when it was missing.
Run these on the node before you power it down:
# Create backup directory on shared CephFS storage
mkdir -p /mnt/pve/cephfs/backups/edgar/

# Capture the binary hostid — critical for ZFS pool reimport
hostid > /mnt/pve/cephfs/backups/edgar/hostid.txt

# Bundle the critical system identity and mapping files
tar -cvzf /mnt/pve/cephfs/backups/edgar/edgar_migration_bundle.tar.gz \
  /etc/network/interfaces \
  /etc/hosts \
  /etc/hostname \
  /etc/subuid \
  /etc/subgid \
  /etc/kernel/cmdline \
  /etc/modprobe.d/ \
  /etc/modules \
  /etc/default/grub \
  /etc/pve/user.cfg

# Capture OSD-to-disk mapping
ceph-volume lvm list > /mnt/pve/cephfs/backups/edgar/ceph_lvm_layout.txt
lvs -a -o +devices > /mnt/pve/cephfs/backups/edgar/lvm_devices.txt

# List manually installed packages for post-install restoration
apt-mark showmanual > /mnt/pve/cephfs/backups/edgar/apt-mark-showmanual.txt
Why Each File Matters
| File | Why it matters |
|---|---|
hostid |
ZFS records the hostid that imported the pool. Mismatch causes warnings and can prevent clean import |
/etc/subuid / /etc/subgid |
UID/GID mappings for unprivileged LXC containers — missing this breaks container startup with permission errors |
/etc/default/grub |
Captures kernel boot parameters (USB quirks, etc.) that need to be translated to /etc/kernel/cmdline for UEFI |
ceph_lvm_layout.txt |
Maps OSD IDs to physical devices — your recovery map if ceph-volume lvm activate --all fails |
/etc/pve/user.cfg |
Cluster-wide but good to have a local copy for reference |
The /etc/subuid and /etc/subgid files were the lesson learned from the Harlan recovery — the Jellyfin LXC container wouldn’t start after the rebuild because the UID mappings were missing. See Part 2 for the full story.
The Migration Procedure
Phase 1: Pause the Ceph Cluster
Run from any healthy cluster node:
ceph osd set noout
ceph osd set nobackfill
This prevents the cluster from rebalancing data while the node is offline.
Phase 2: Hardware and BIOS
- Power down the node
- Swap drives — pull the old HDDs, install the new SSDs
- Verify OSD cables — since the case is open, confirm SATA and power cables for the OSD drives and WAL SSD are secure
- Enter BIOS setup:
- Set Boot Mode to UEFI Only (disable CSM/Legacy Boot)
- Ensure Secure Boot is OFF (avoids complications with Proxmox/ZFS)
- Enable SATA AHCI Mode if not already set
- Set the new SSDs as primary boot priority
Phase 3: Fresh Proxmox Install
Boot from the Proxmox installer USB:
- Target disks: Select the two new SSDs. Choose ZFS (RAID1).
- WARNING: Do NOT select the OSD drives or the WAL SSD. The installer will show all connected drives.
- Network: Use the exact same hostname and IP address as the original node.
- Boot mode: Because you switched to UEFI in the BIOS, the installer will automatically create the ESP (EFI System Partition) and set up
systemd-bootinstead of GRUB.
Phase 4: Post-Install Identity Restoration
Once the fresh install is up and you can SSH in:
Restore the HostID:
# Use the hex value from your backup
zgenhostid $(cat /mnt/pve/cephfs/backups/edgar/hostid.txt)
Restore LXC UID/GID mappings:
tar -xvzf /mnt/pve/cephfs/backups/edgar/edgar_migration_bundle.tar.gz \
  -C / etc/subuid etc/subgid
Translate boot quirks from GRUB to systemd-boot:
If your old /etc/default/grub had kernel parameters (like USB storage quirks for OSD drives), they need to move to the UEFI equivalent:
# Check the old grub config from your backup
tar -xvzf /mnt/pve/cephfs/backups/edgar/edgar_migration_bundle.tar.gz \
  -C /tmp etc/default/grub
grep GRUB_CMDLINE /tmp/etc/default/grub

# If you had usb-storage.quirks or other parameters, add them to:
nano /etc/kernel/cmdline
# Append the parameters to the existing line

# Apply the change
proxmox-boot-tool refresh
Run the Proxmox post-install script (optional but recommended):
bash -c "$(wget -qLO - https://github.com/community-scripts/ProxmoxVE/raw/main/misc/post-pve-install.sh)"
This fixes the no-subscription repository warning, disables the enterprise repo, and applies CPU microcode updates.
Phase 5: Rejoin the Cluster
pvecm add <IP-of-healthy-node>
If you get a mount error about /etc/pve being busy:
mv /etc/pve /etc/pve.local-backup
systemctl restart pve-cluster
The cluster filesystem will mount and replicate the shared configuration from the other nodes.
Phase 6: Reactivate Ceph OSDs
ceph-volume lvm activate --all
Watch the OSD status:
ceph osd tree
The OSDs should transition from down to up. If automatic activation fails, use the LVM layout backup to activate manually:
# From ceph_lvm_layout.txt, find the OSD fsid
ceph-volume lvm activate --bluestore <osd-id> <osd-fsid>
Phase 7: Unpause the Cluster
Once the OSDs are up and cluster health looks good:
ceph osd unset noout
ceph osd unset nobackfill
ceph crash archive-all
The UEFI Difference
The main practical difference after switching from Legacy BIOS to UEFI:
| Legacy BIOS | UEFI | |
|---|---|---|
| Bootloader | GRUB | systemd-boot |
| Kernel parameters | /etc/default/grub + update-grub |
/etc/kernel/cmdline + proxmox-boot-tool refresh |
| Boot partition | BIOS boot (1007K) | EFI System Partition (1GB, FAT32) |
| Boot tool | proxmox-boot-tool init <part> grub |
proxmox-boot-tool init <part> |
| Max boot disk size | 2TB (MBR limitation) | No practical limit |
The proxmox-boot-tool commands for managing the boot mirror are the same — format, init, status, clean — the tool detects the boot mode automatically. The only workflow change is where kernel parameters live.
Verify the Migration
# ZFS pool healthy
zpool status -v rpool

# Both SSDs registered as boot targets
proxmox-boot-tool status

# Scrub to verify data integrity
zpool scrub rpool

# Cluster membership
pvecm status

# Ceph OSDs active
ceph osd tree
References
- Migrate Proxmox VE to smaller root disks — Aaron Lauterer (send/receive approach for reference)
- Tutorial: migrate PVE ZFS boot mirror to smaller disks — Reddit (send/receive shell script)
- Proxmox community post-install scripts — Post-install automation
Related Articles
- ZFS Boot Mirrors on Proxmox 8 - Part 1 — Same-size drive replacement
- ZFS Boot Mirrors on Proxmox 8 - Part 2 — Emergency recovery from catastrophic dual-drive failure
- Monitoring ZFS Boot Mirror Health in Proxmox 8 Clusters — SMART monitoring and alerting
- Proxmox & Ceph Homelab Guide — All my Proxmox and Ceph articles in one place