The Dell Wyse 3040 is a nifty little machine that is extremely small and a low power consumer. They are however not without issues. This is my foray into trying to get a couple of them working on my homelab. I bought a couple in early March 2024 based on watching Apalrd’s videos Dell Wyse 3040 Thin Client Teardown and Installing Proxmox VE 7 on Debian Bullseye with the various Dell Wyse thin clients.
Debian Installation
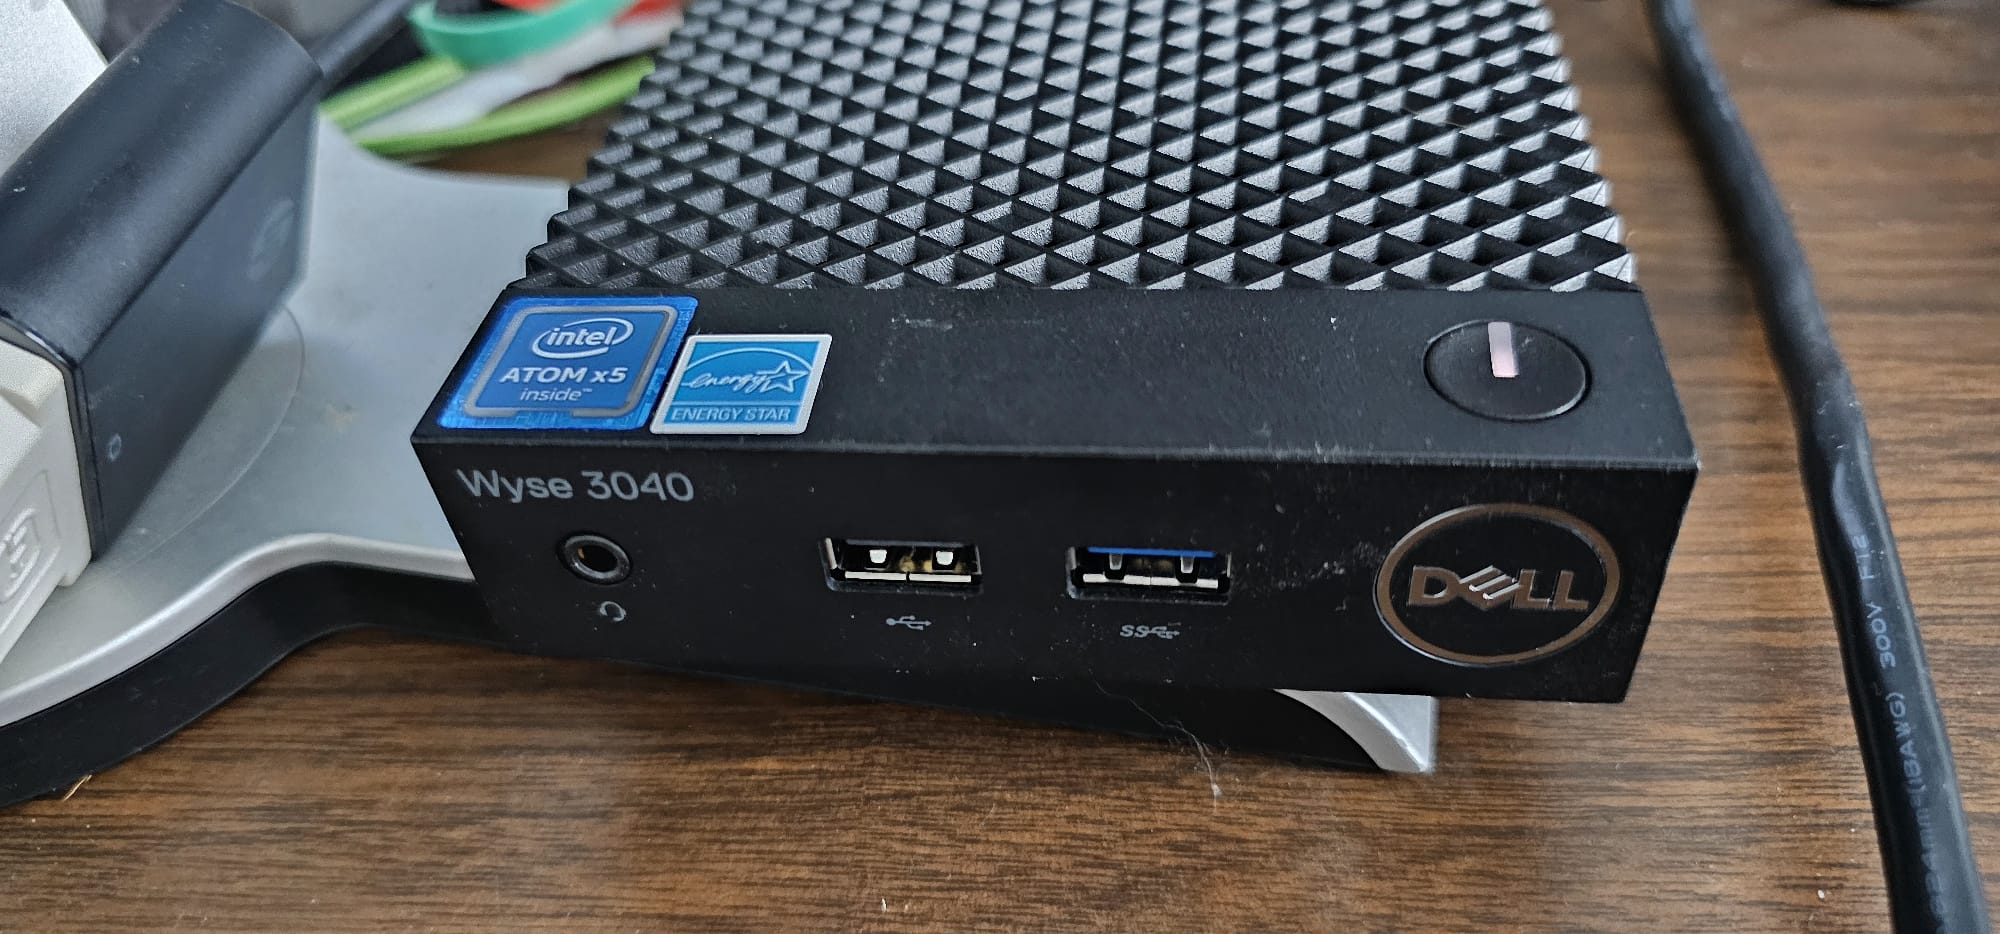
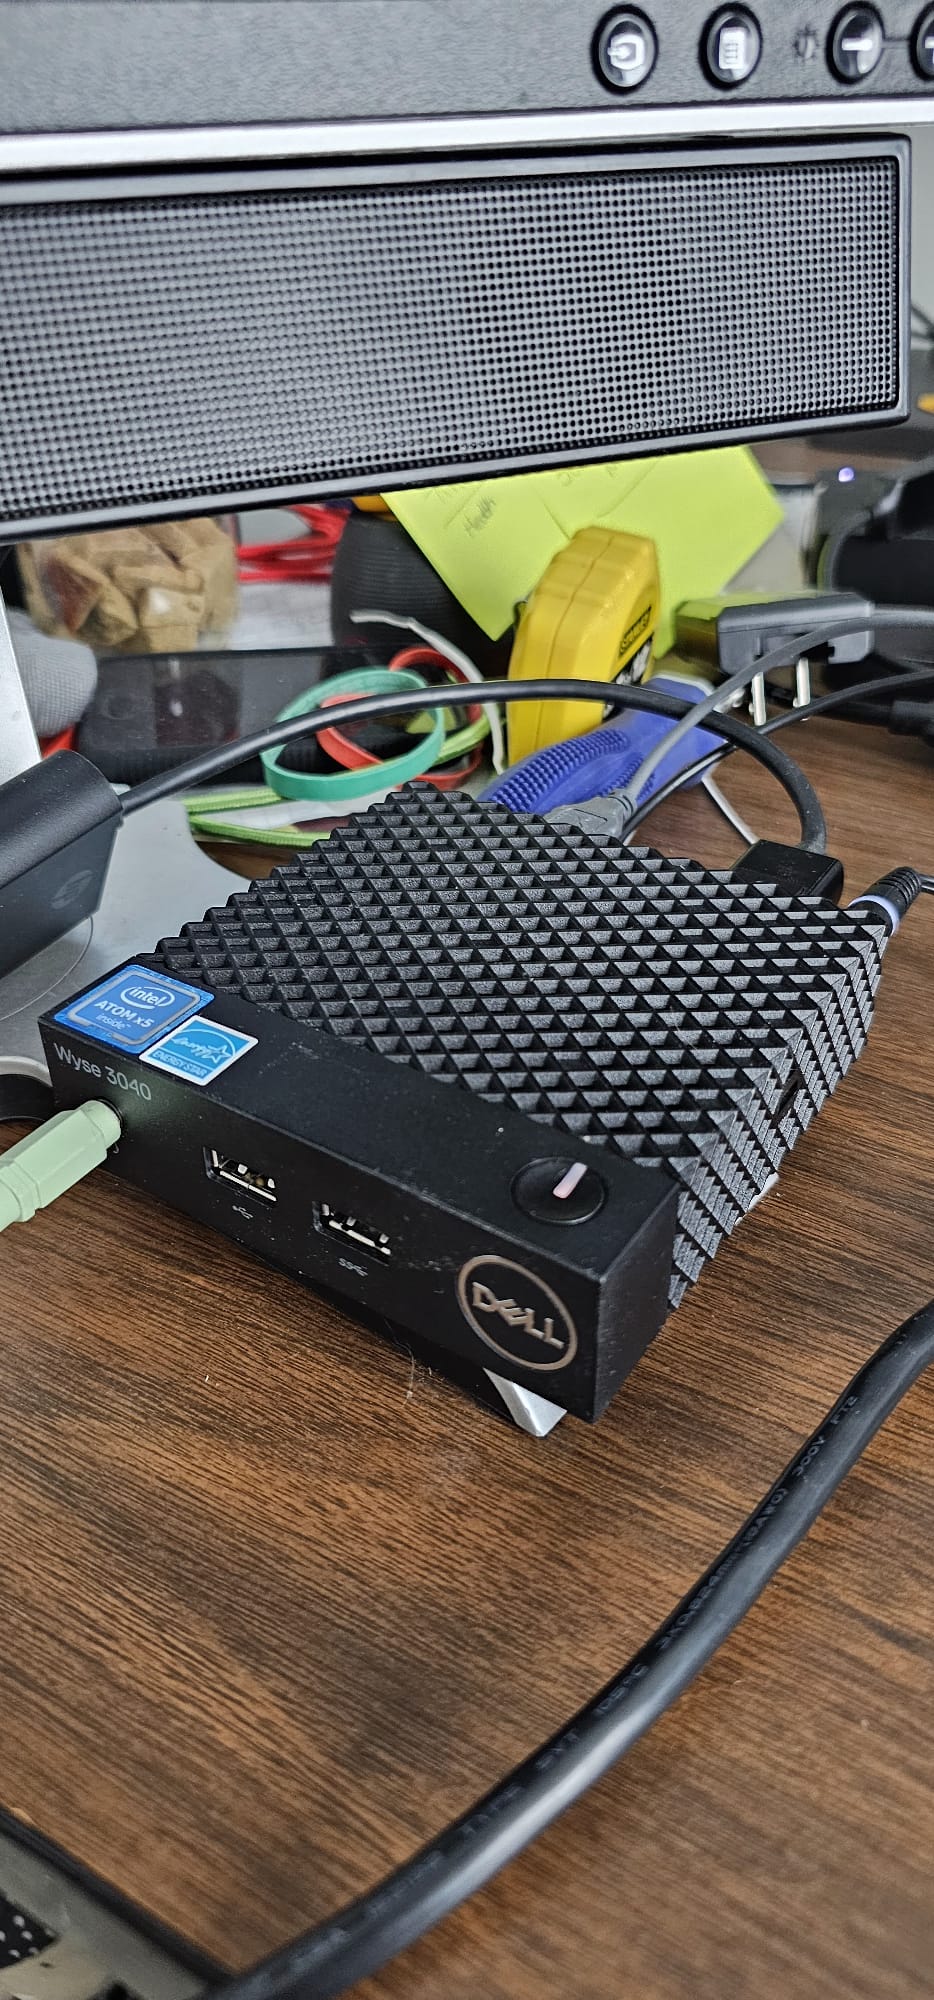
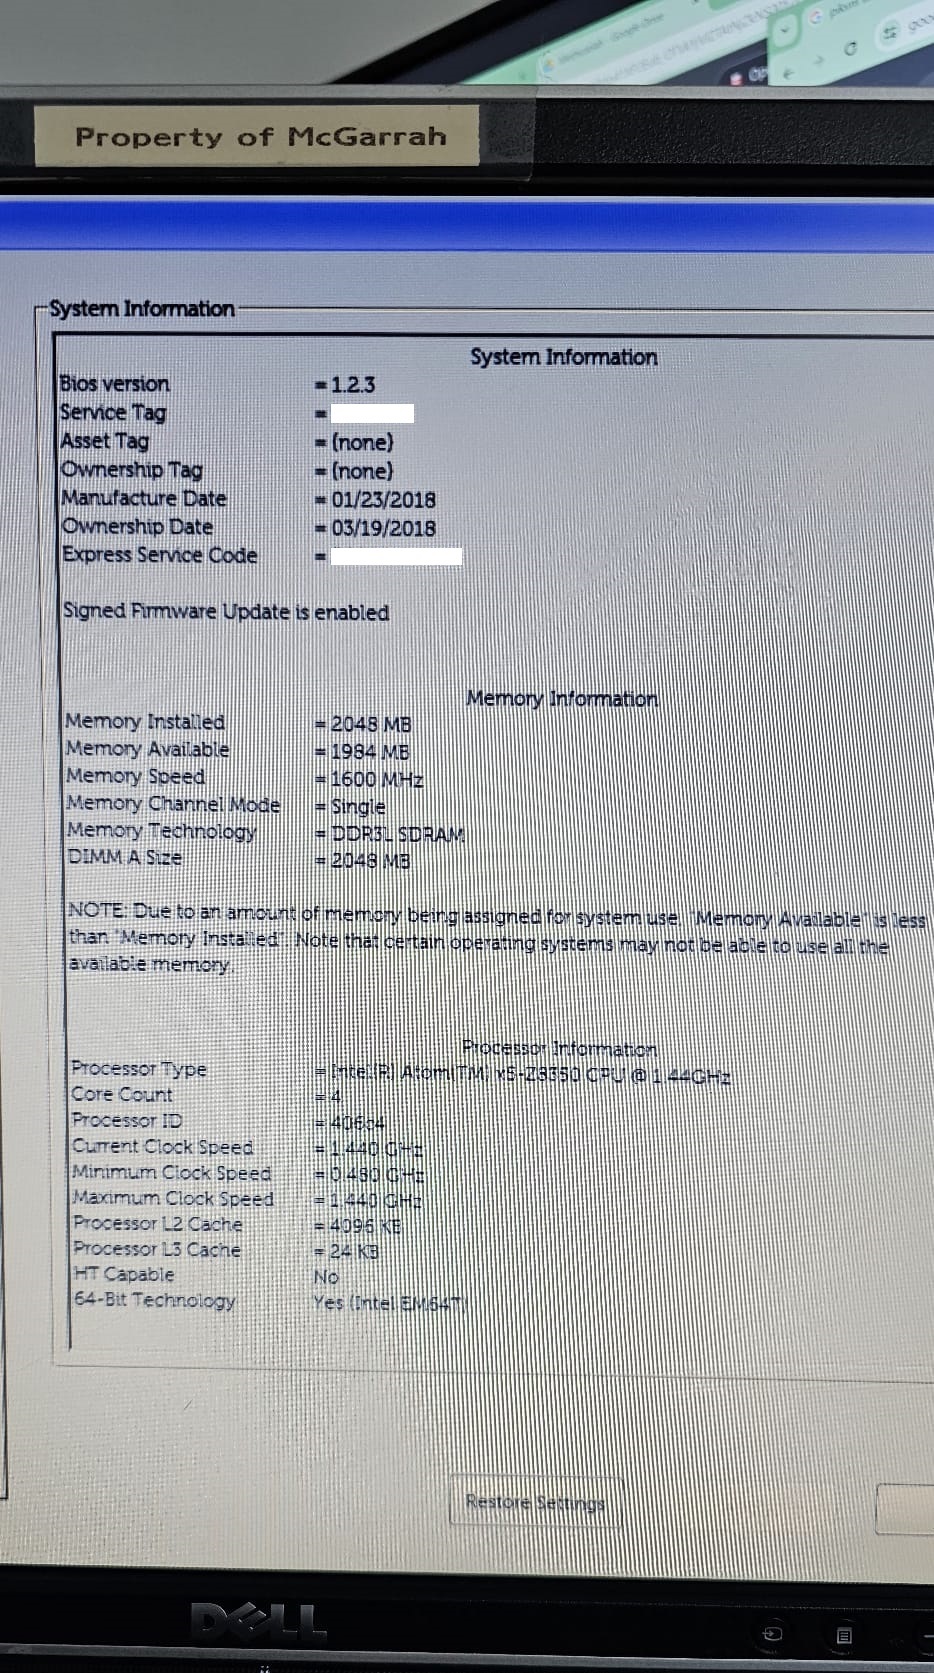
Here is the Dell Wyse 3040 that I’m installing onto…
First you need to get into the BIOS and set a few things. On power-up the F2 key takes you into the BIOS or the F12 key to a boot menu. You need to access the BIOS so press and hold the F2 key. You may be prompted for a password and the default one is “Fireport”.
Note: When trying this I encountered an issue with the the DisplayPort to DVI converter to my older Dell 14” LCD monitor. There is something about active and passive DisplayPort adapters which I was not aware. The impact was the DisplayPort to DVI auto-detect on my older Dell LCD monitor failed by going black like I have a machine shut off. I had to manually set it to the Digital (DVI) output or it would go blank and power down. Occasionally, I had to unplug and plug it back in until I got signal again. This was frustrating as a first attempt because the behavior was like these little boxes were dying right after bootup. Turning off the monitor and back on again, showed me the same BIOS screen for split second so I could see the units were not rebooting but something wrong with the monitor or display output.
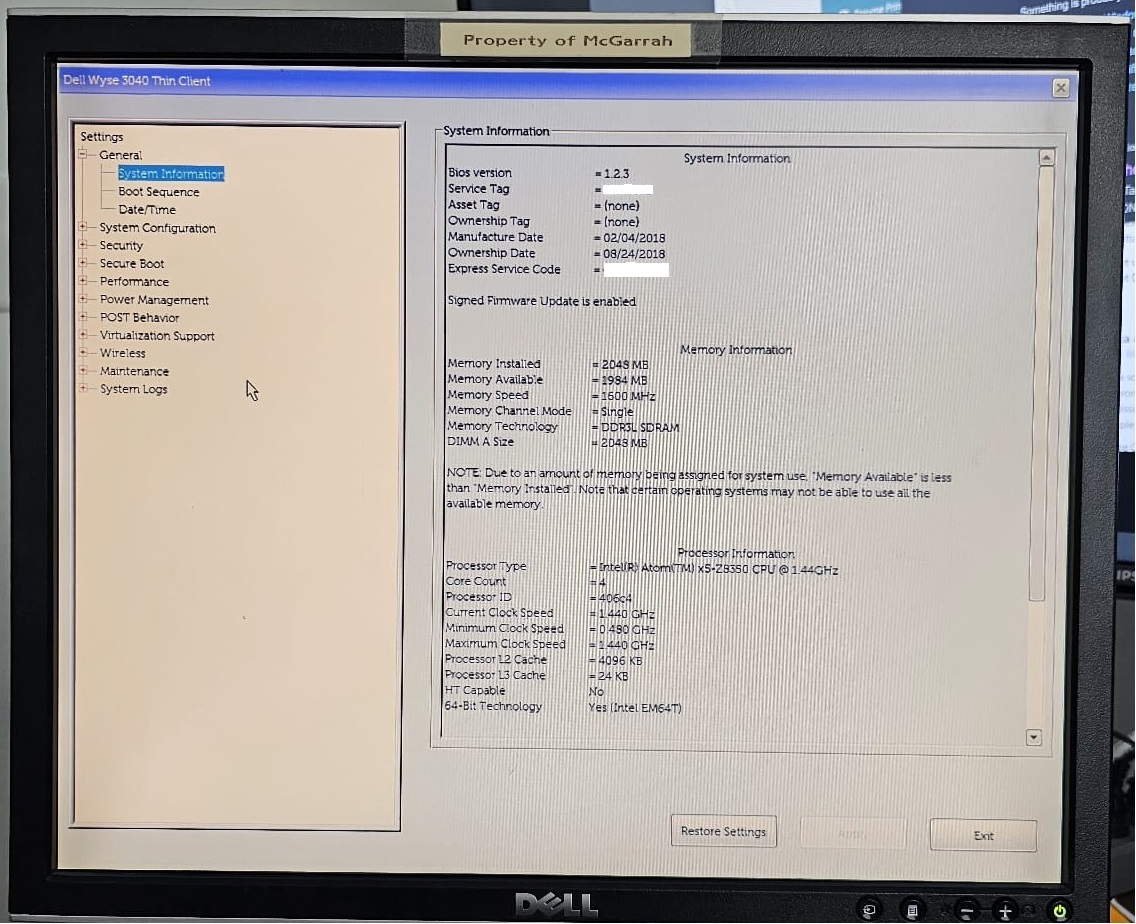
BIOS settings are nice to see I’ve got 2GB RAM and a 4-core Atom processor. You need to set “Secure Boot” to OFF and enable USB. You will need to be able to boot from a USB Thumbdrive that is not signed.
On this power-up, press the F12 key to bring up the Boot Menu and select your USB Thumbdrive. I used a Ventoy Boot with multiple boot images loaded up.
Boot mode is set to UEFI: Secure Boot: OFF

UEFI BOOT:
    thinos
    UEFI: SanDisk Cruzer Blade 1.26. Partition 1
OTHER OPTIONS:
    BIOS Setup
    BIOS flash update
    Diagnostics
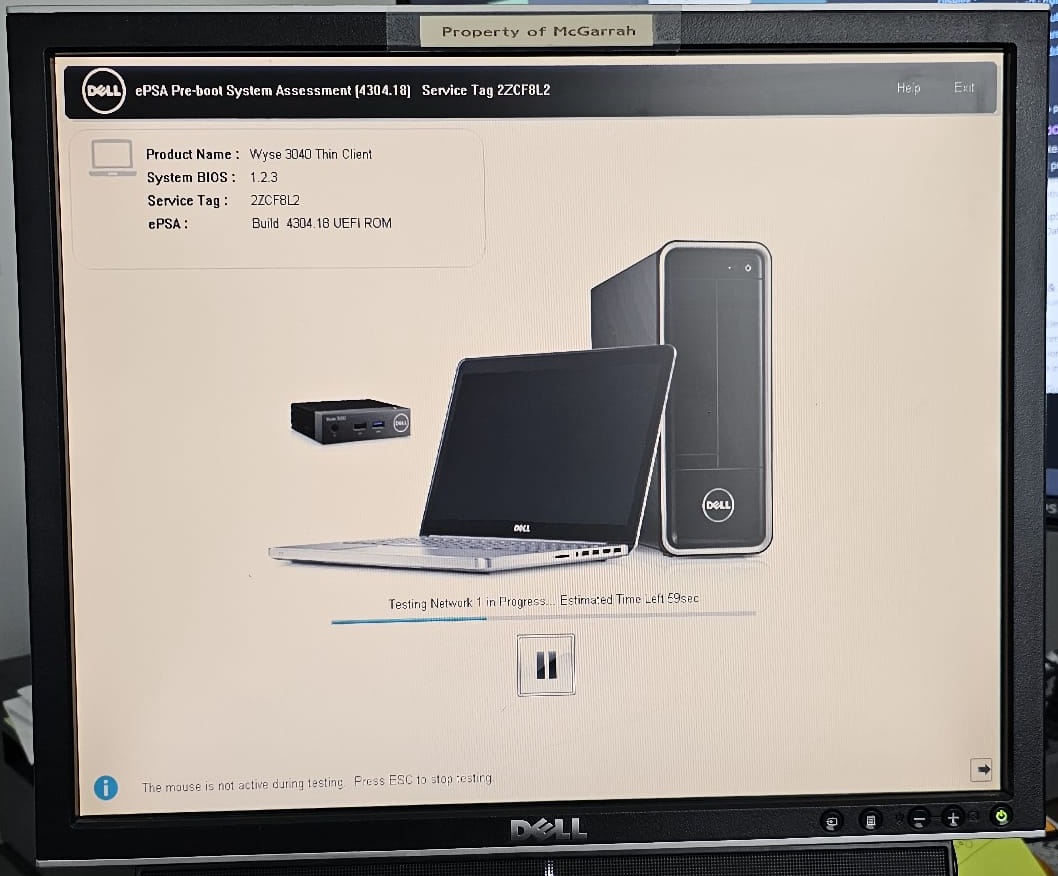
Here is the Diagnostics screen that I picked from above Boot Menu. I ran the full diagnostics to stress test the system a bit. I bought these on eBay awhile back and never got a chance to work on them. So doing a baseline check of hardware just made sense.
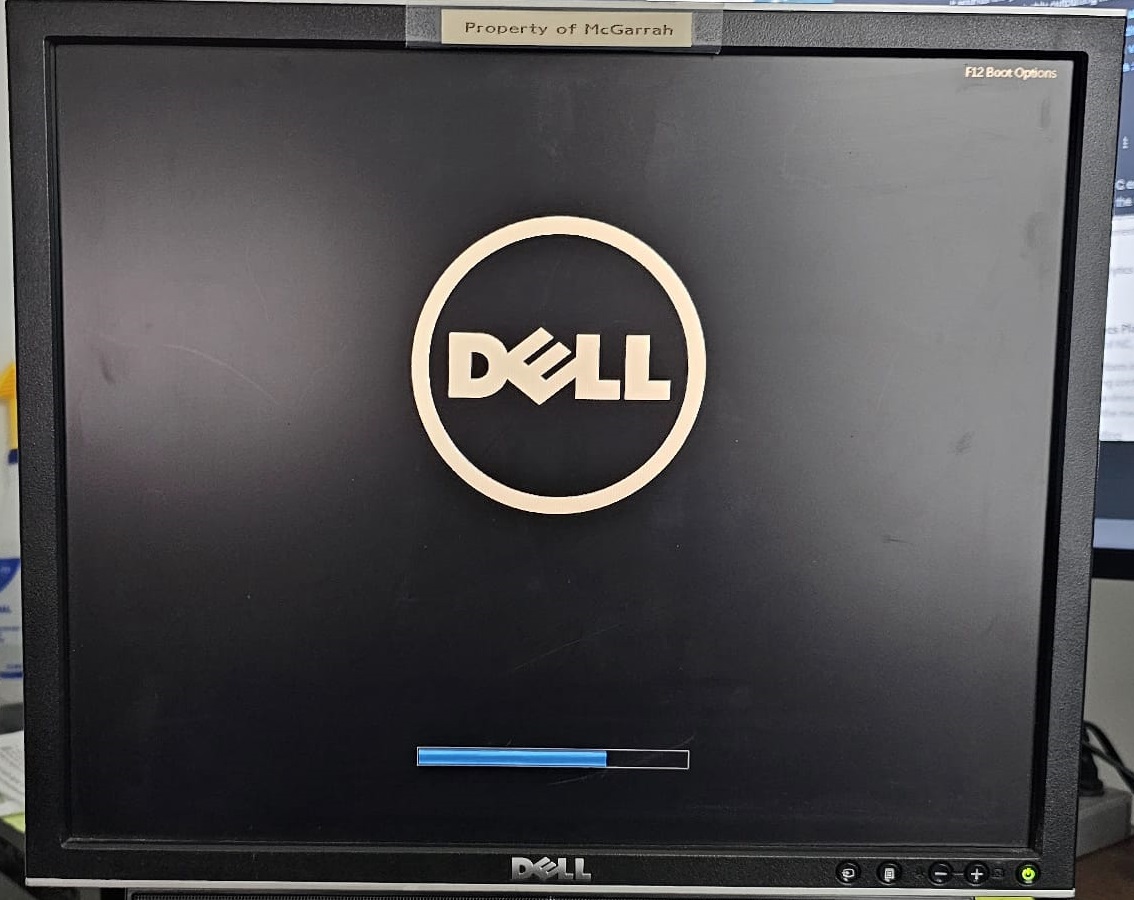
Here is the boot screen with the F12 option showing as it flashes by.
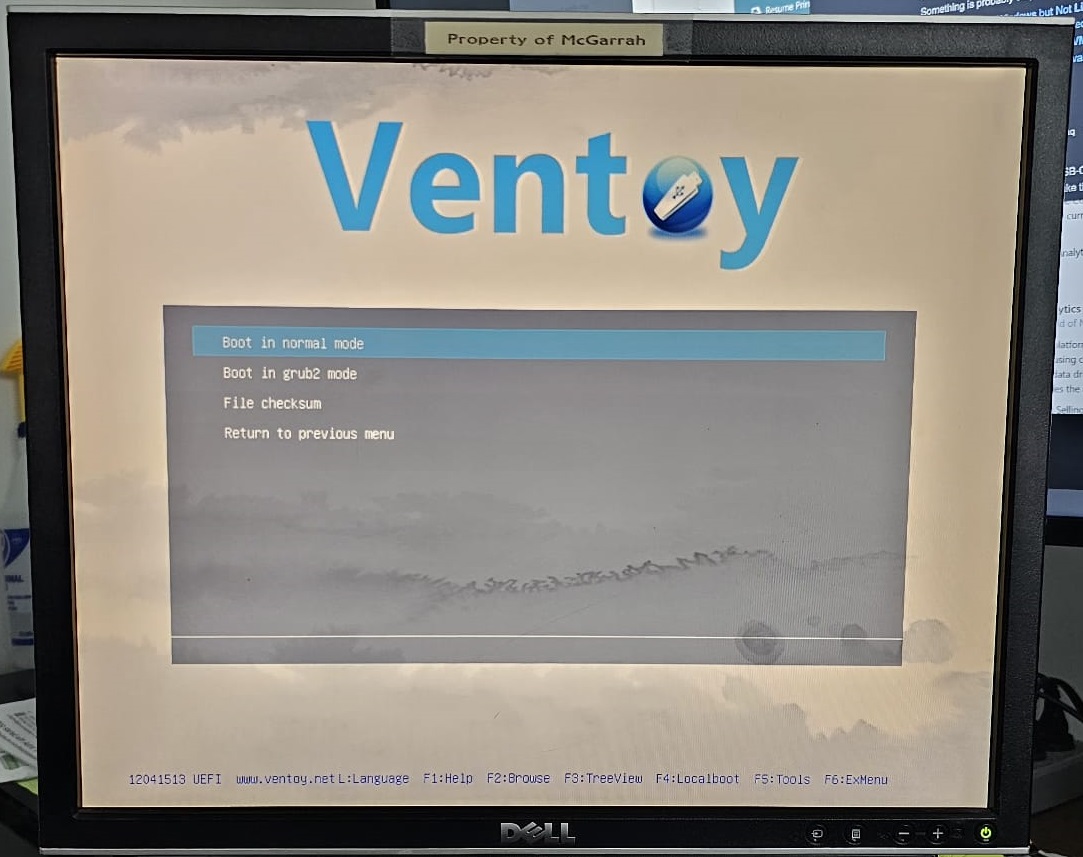
Here is the Ventoy Book Screen after picking UEFI: SanDisk Cruzer from the Boot Menu. I picked “Debian-12.5.0-amd64-DVD-1.io” as it was the one with all the packages so I don’t have to get this machine on the network initially.

In Ventoy pick “Boot in normal mode” and it will work great for the Wyse 3040.
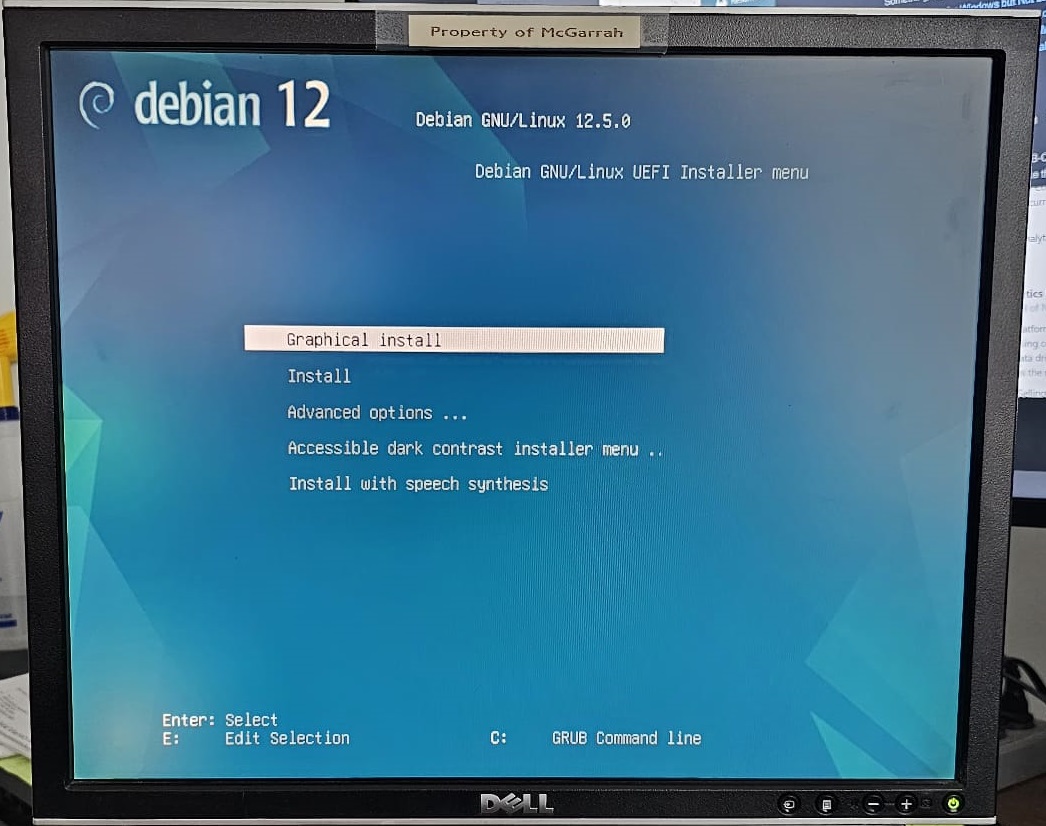
I picked “Graphical install” for my Debian 12 install interface. Again, it works fine on the Wyse 3040.
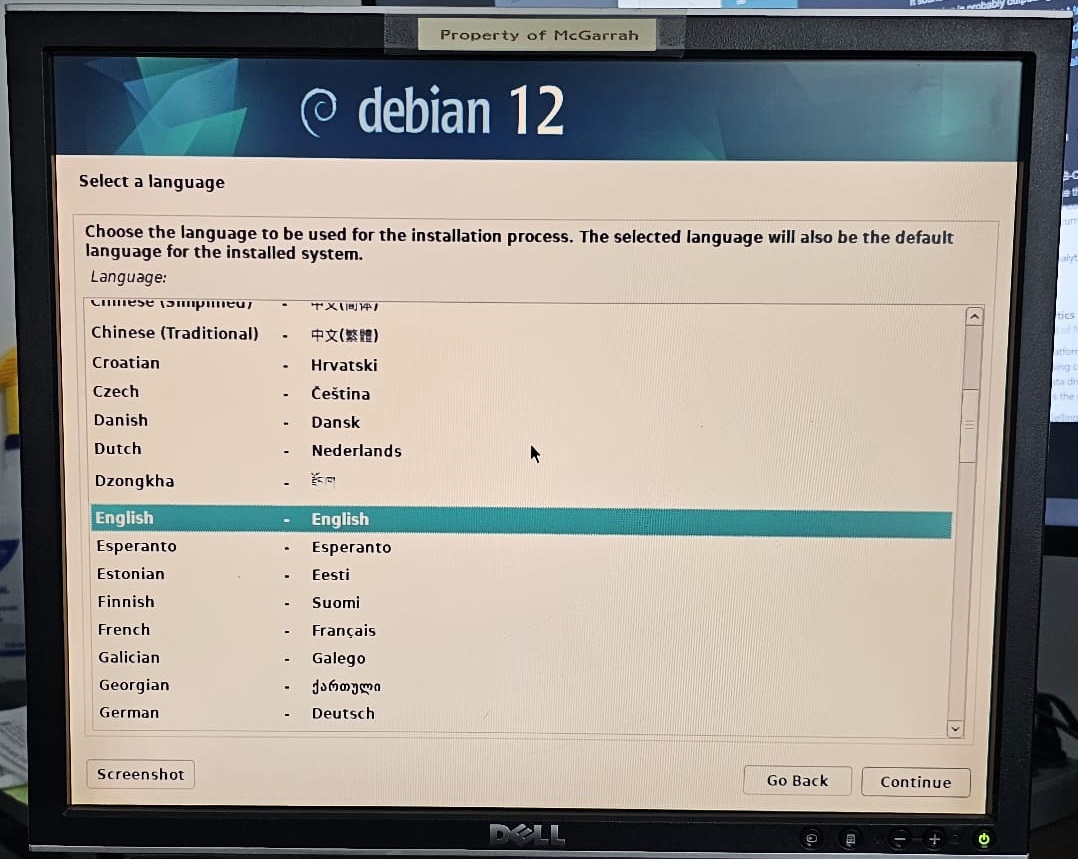
Pick “English” or whatever language is appropriate. I have only tested the English install.
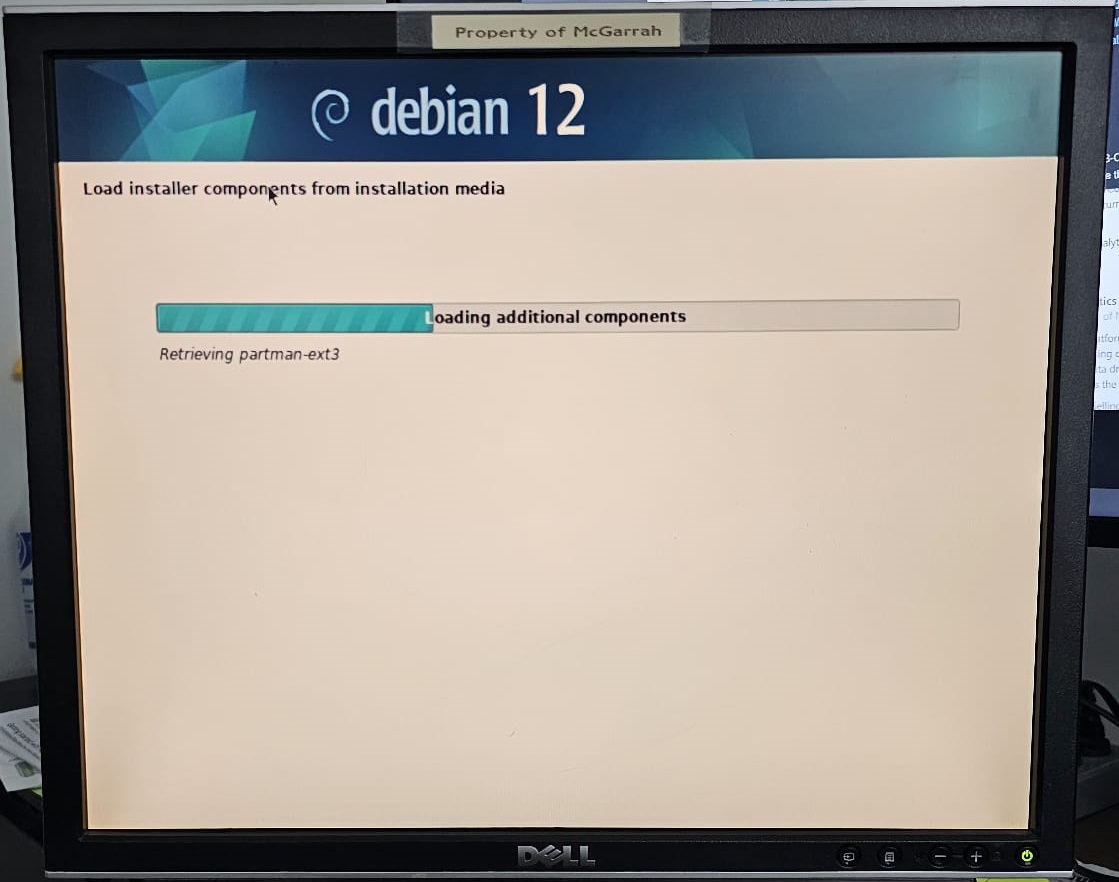
Wait awhile for the installer to get everything loaded up.
I skipped a lot of Debian 12 steps in here were I took the defaults, setup root and users, or skipped features like setting up Networking to be done later.
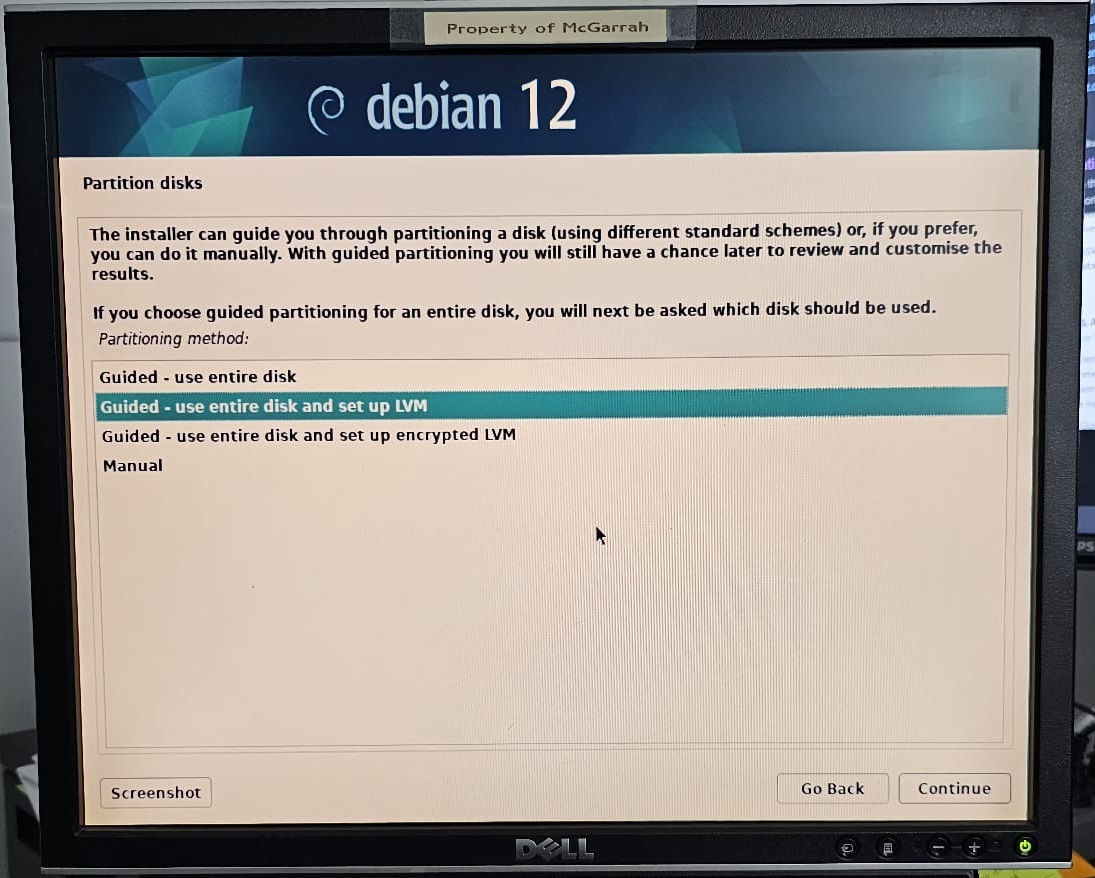
I would recommend using the “Guided - use entire disk and set up LVM” if this system will be using Proxmox later. The Proxmox WebUI works with LVM but not raw disks from the “Guided - use entire disk” option without LVM. For my Tailscale only Debian 12 installs, I skip LVM. For future Proxmox nodes, I recommend LVM for ease of use.
Don’t overwrite your Ventoy or other install boot disk… pick the “MMC/SD card#1 (mmcblk0) - 7.8 GB MMC xxxxx” from the list of disks.

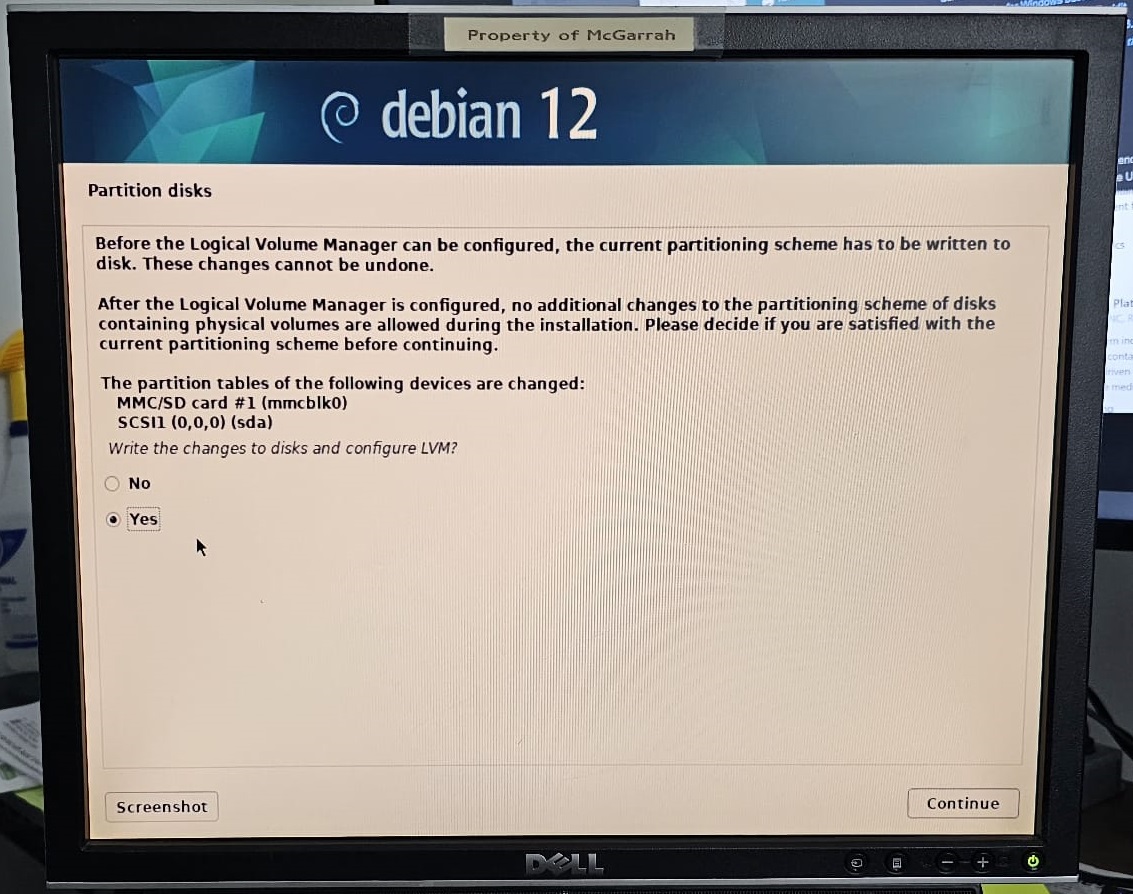
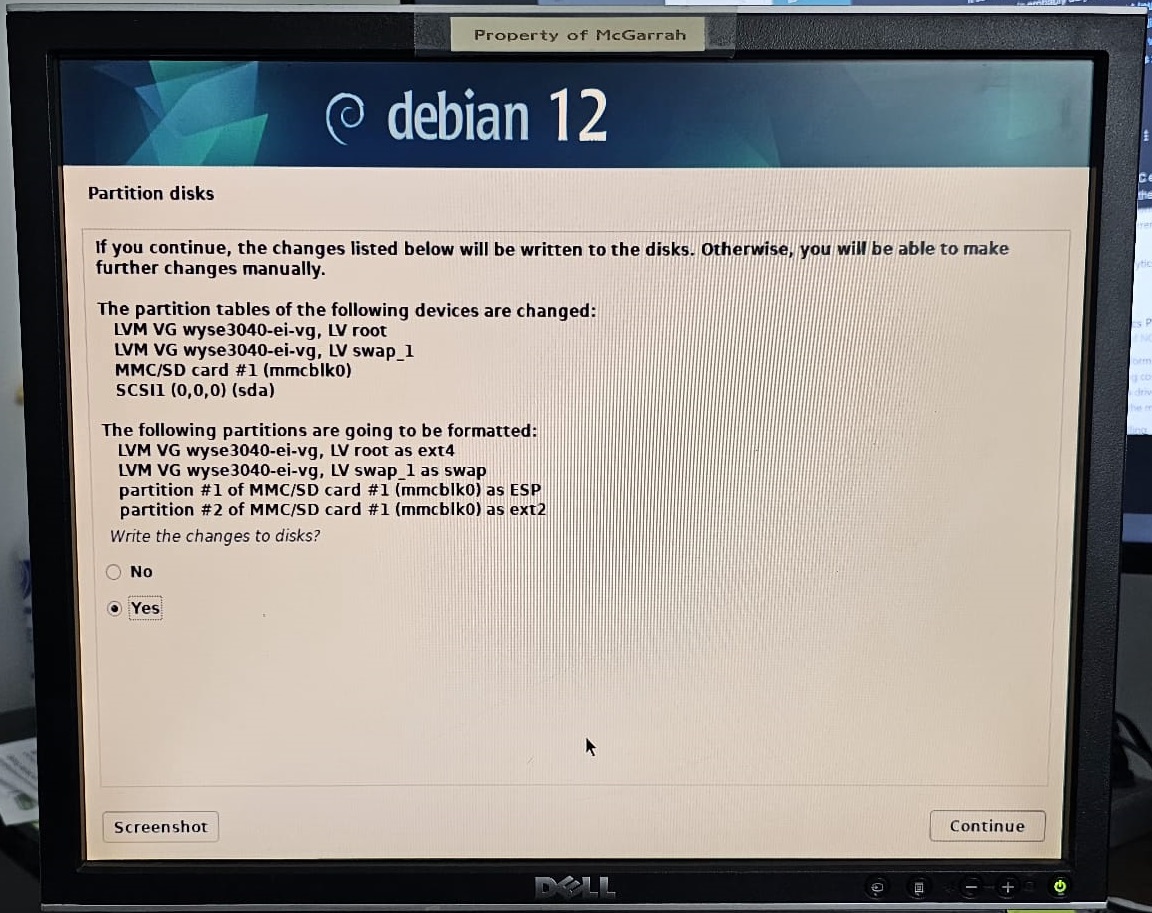
The default is “No” so you will have to choose the “Yes” option here to progress for the LVM guided install.
I pick “max” for the guided disk install as we are seriously short of space on this 7.8GB disk. You can do as you please.

The default is “No” so again you will have to choose the “Yes” option to progress.
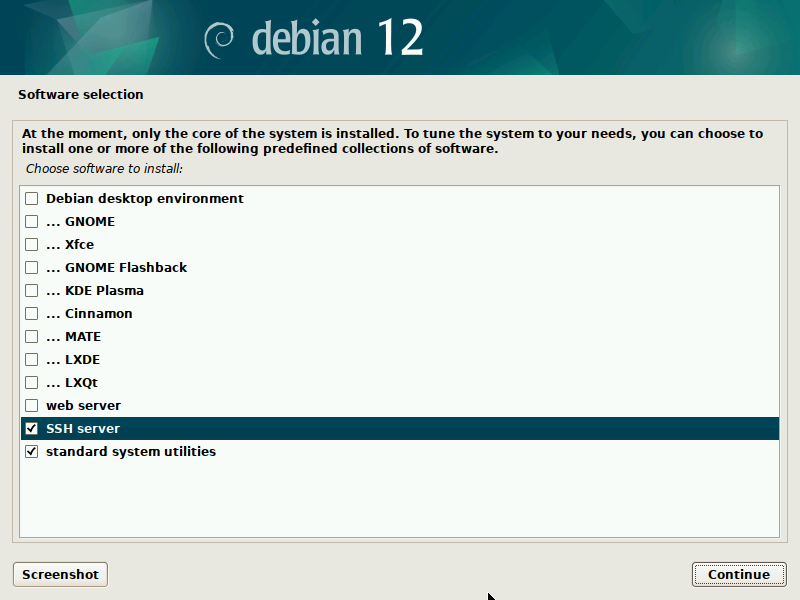
You will be asked what software to install, I recommend you not install the GUI or Desktop options at the top, and only check the utilities and openssh at the bottom. Otherwise, you will fill the disk up.
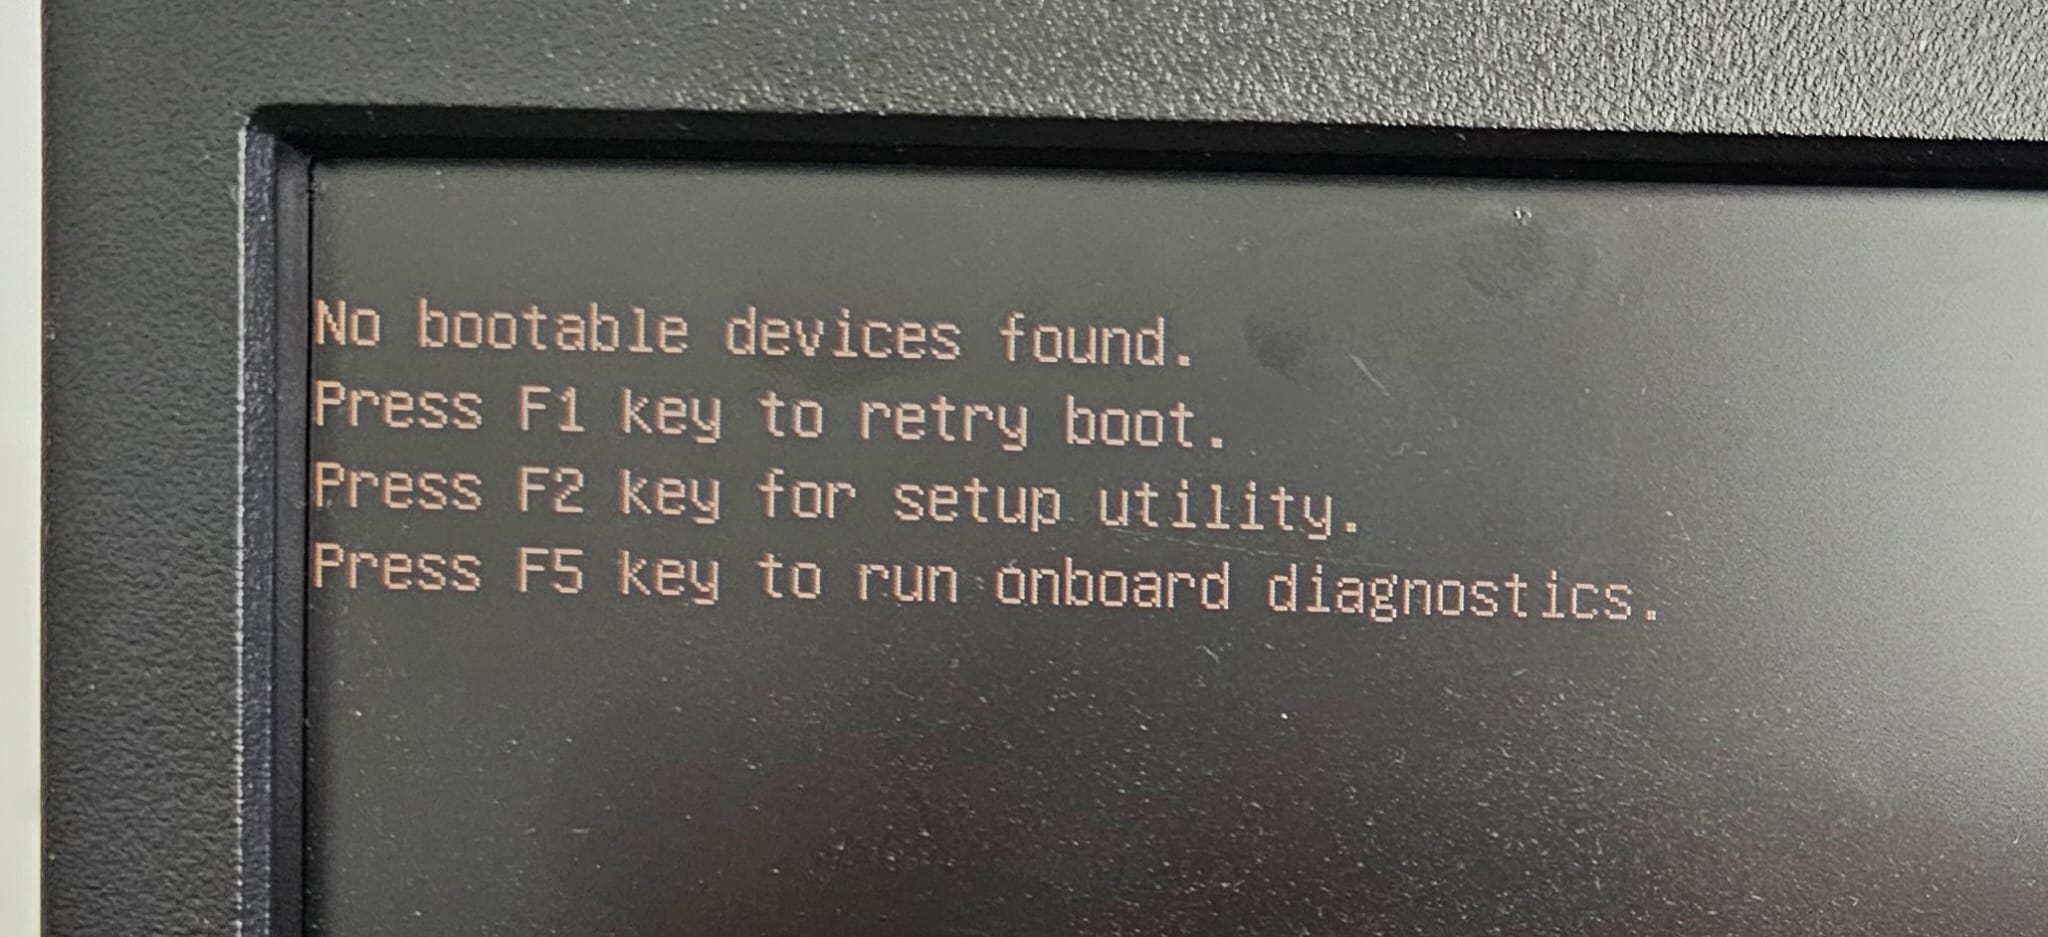
After that, the next steps will be a very long installation of Debian 12. I think the timing for mine were about fifteen to twenty minutes when I timed a couple of them. When it reboots it will fail to boot into Debian 12. This is expected behavior unless you have already setup UEFI boot to work against removable media.
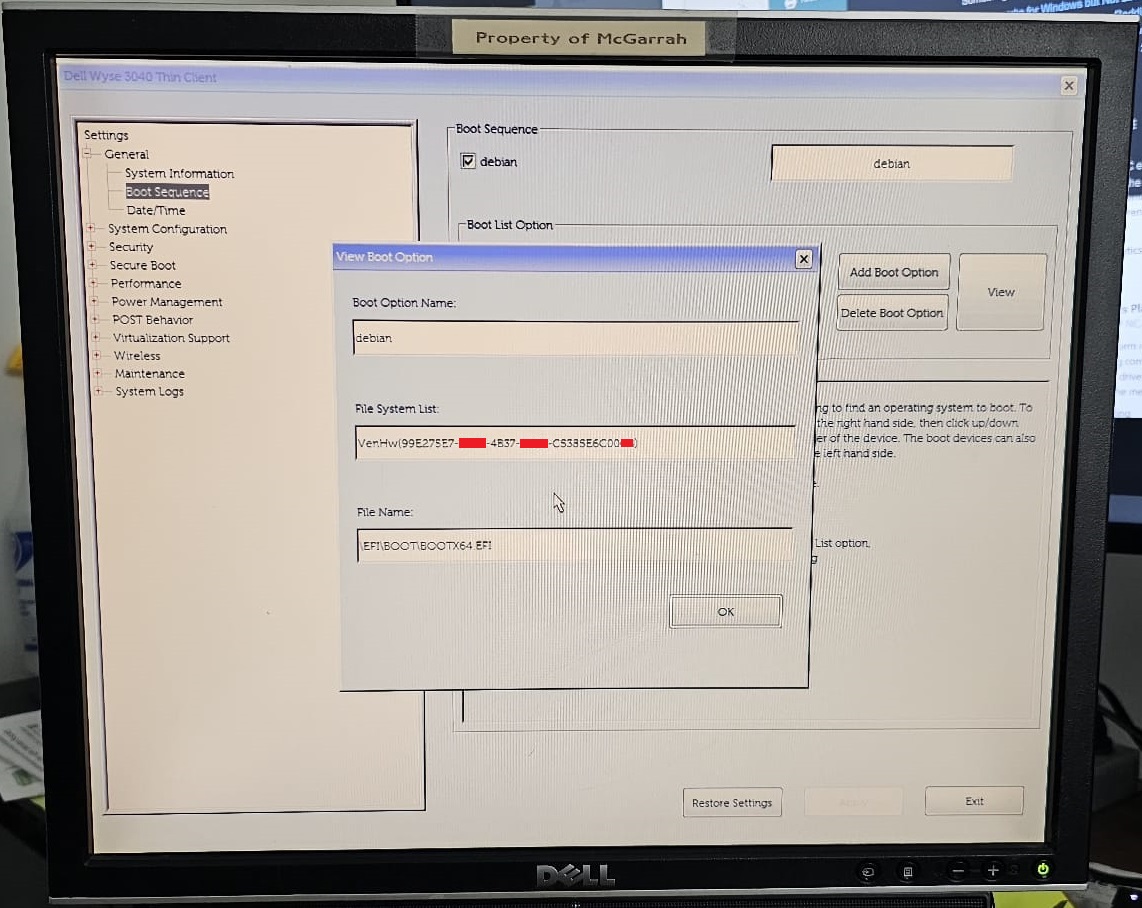
If you boot to BIOS and review your Boot Sequence options, there is an issue with the File Name.
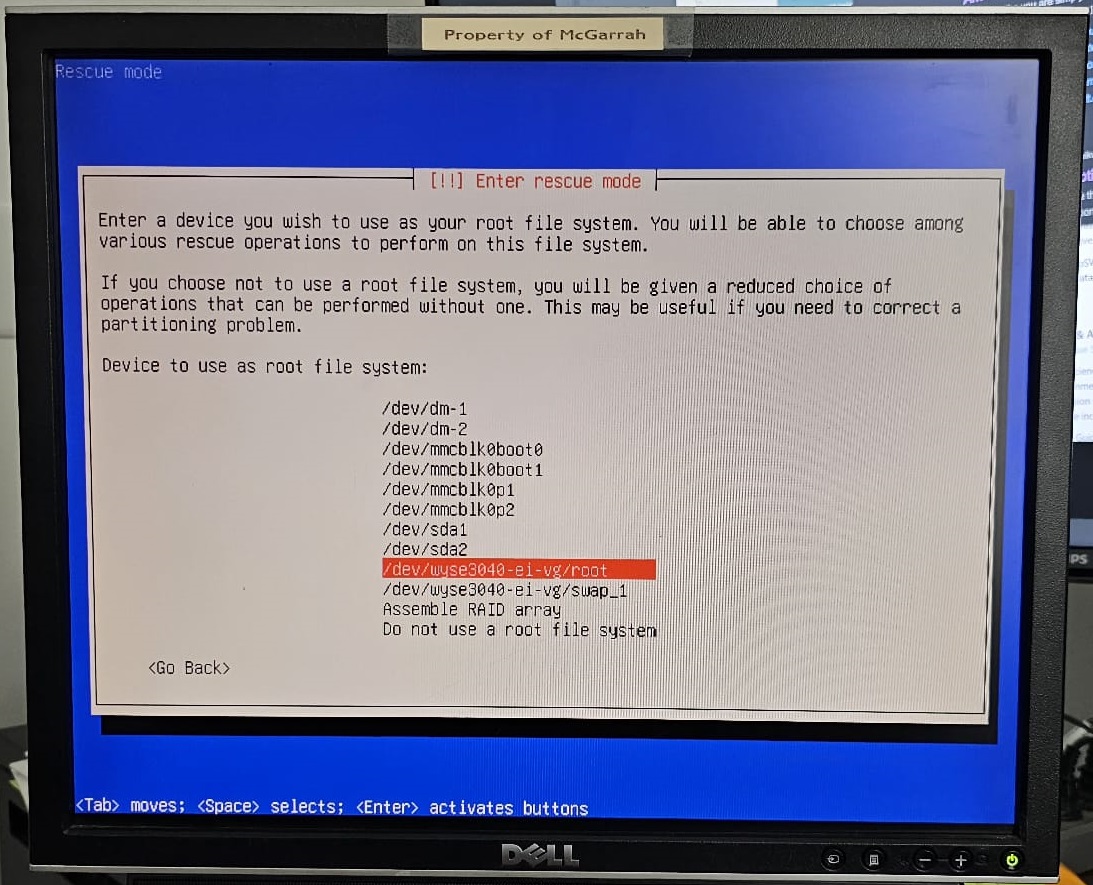
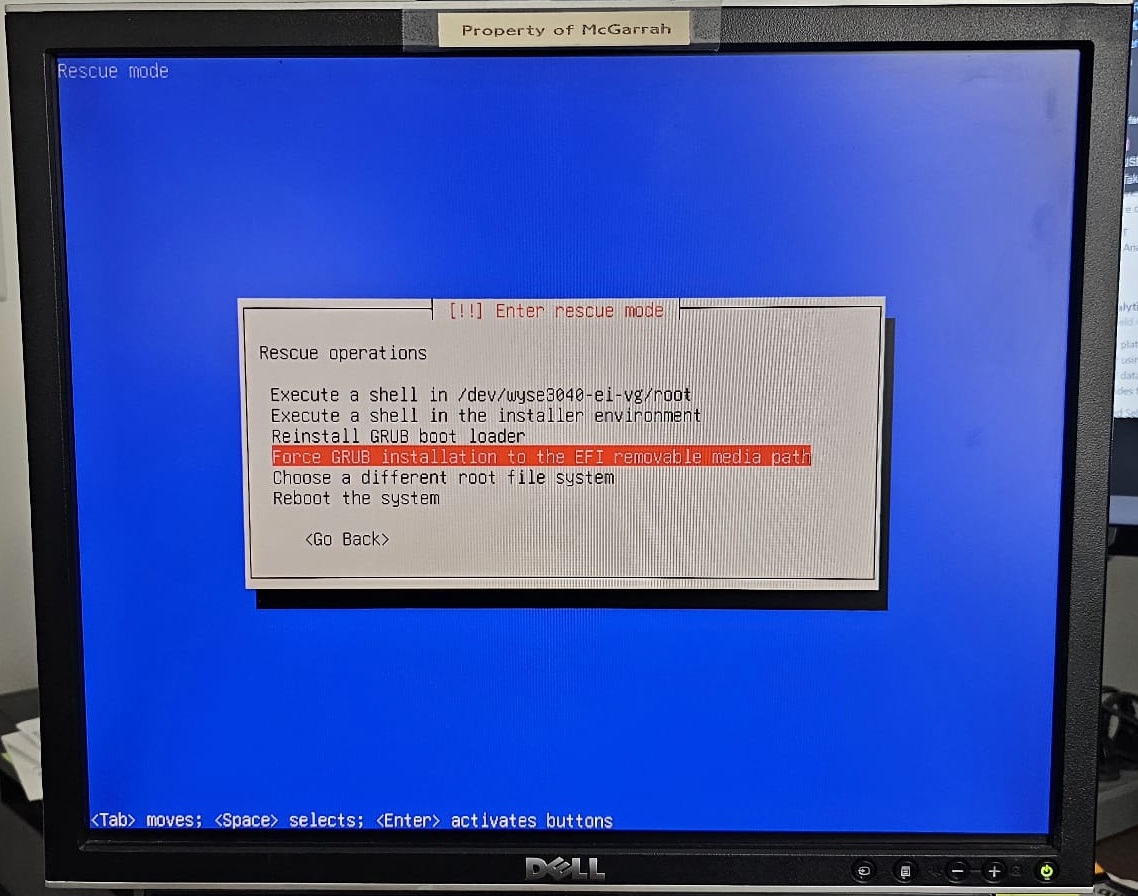
Reboot back into the Debian 12 installer and on this step pick the “Advanced options …” and the “Rescue mode”.
In LVM, you will pick the obvious “/dev/<hostname>-vg/root” root file system.
On raw disks, you will pick the second partition that in my experience ends in “mmcblk0p2”.
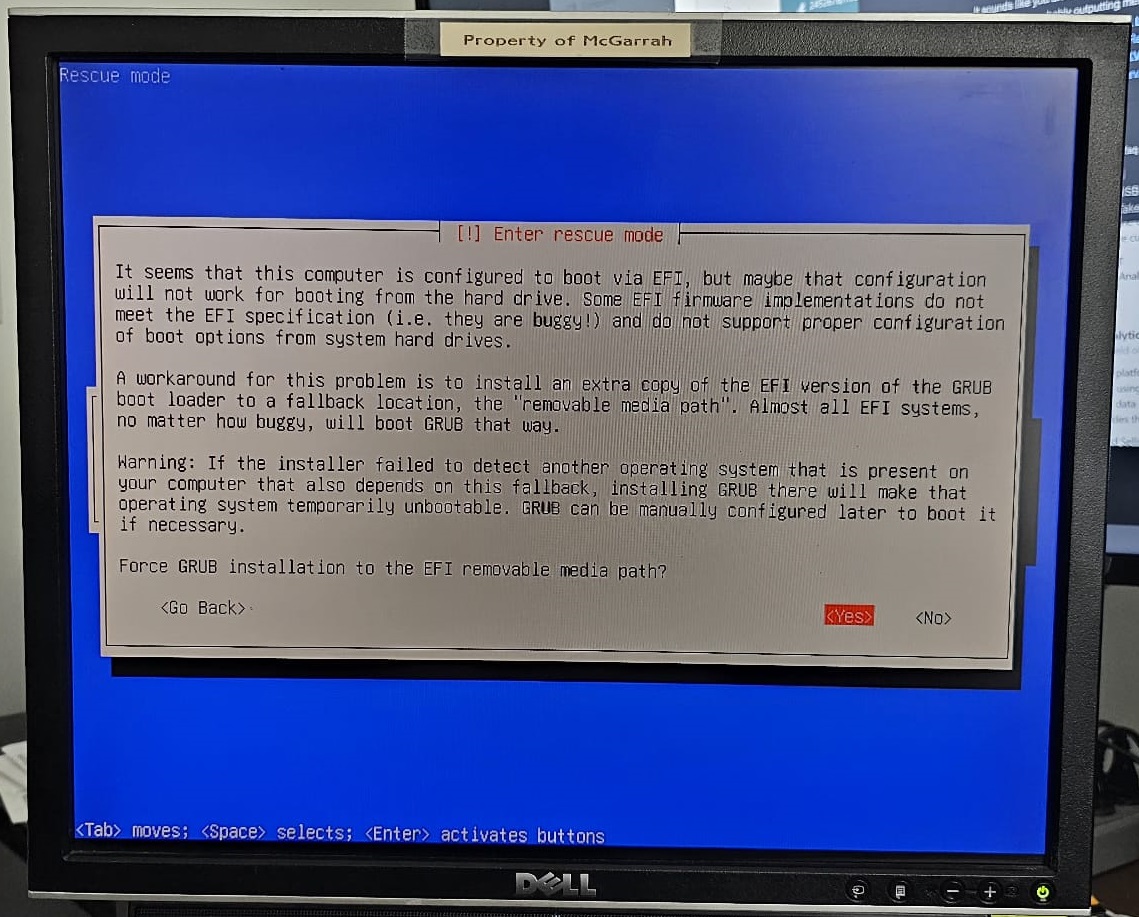
Now you will pick “Force GRUB installation to the EFI removable media path” to fix the issue with the bad BIOS that does not honor UEFI boot paths.
Pick “Yes” for it to do the UEFI fix.
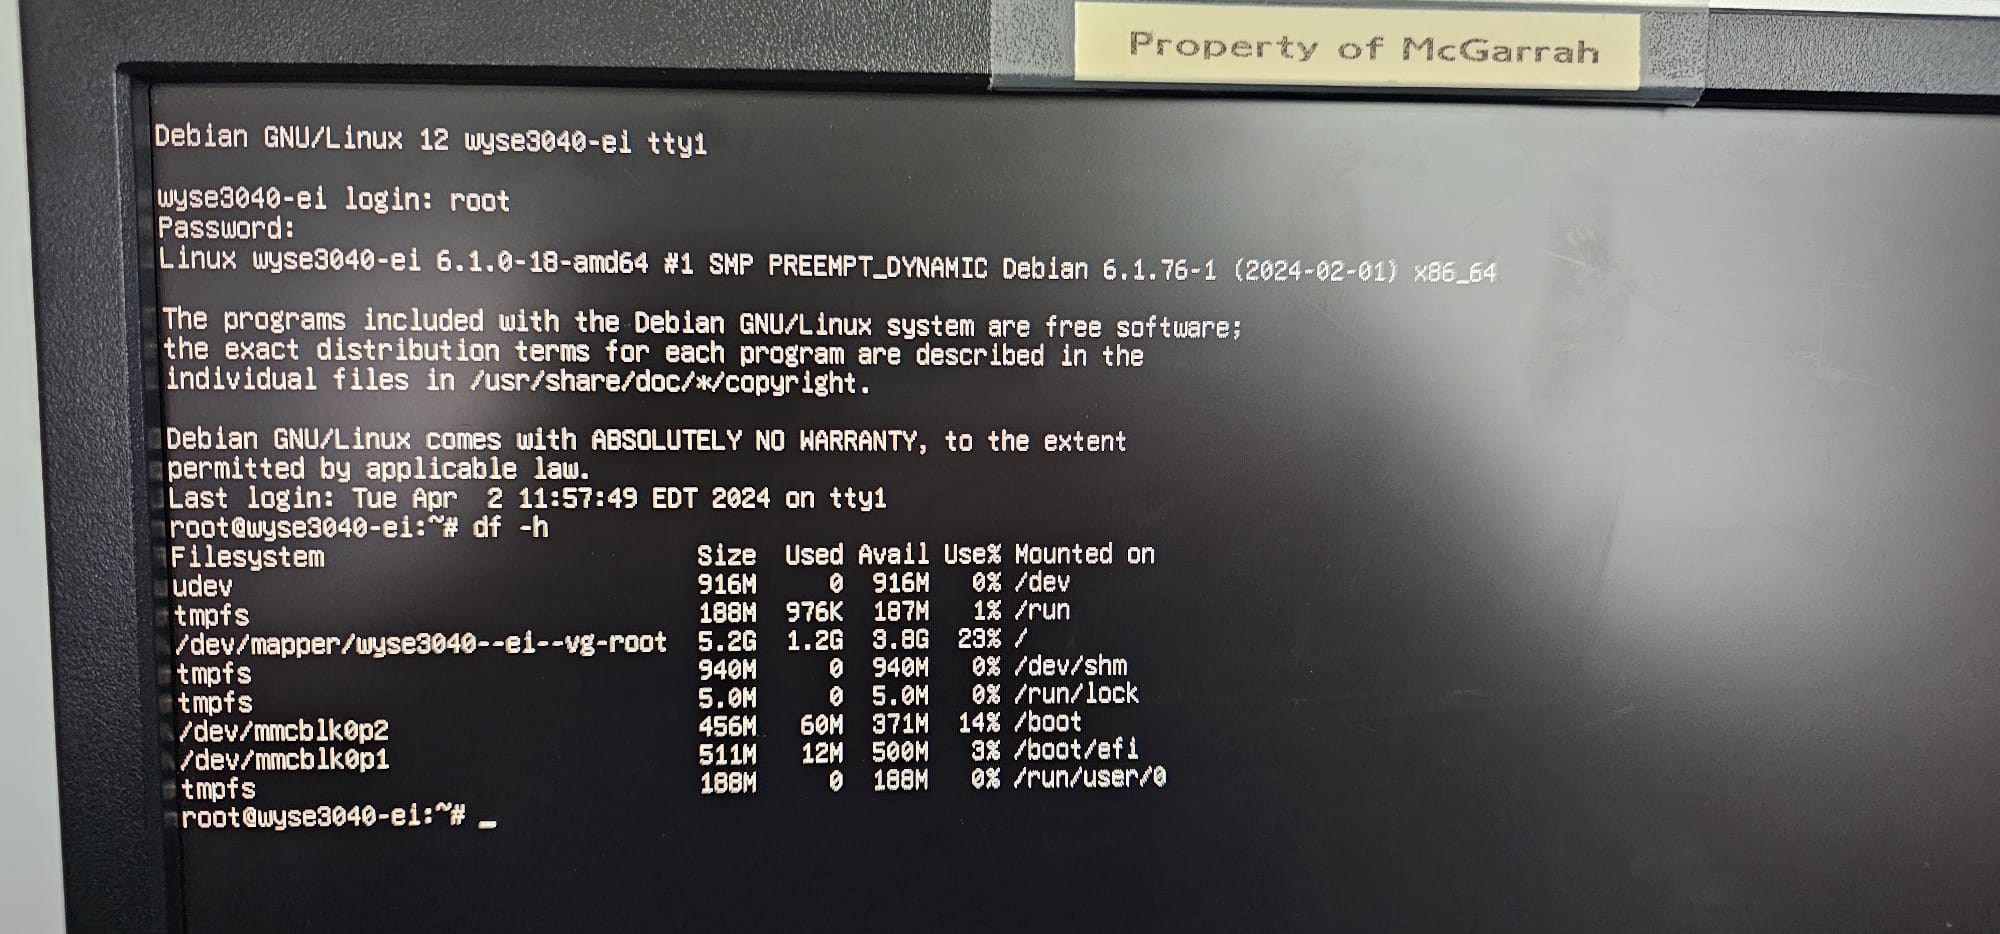
On this page, pick the “Execute a shell in “ and pick the top option with “root” partition in it. You will want to be able to fix some kernel modules so the system will powerdown correctly.
Login as the root user with the password you set for root during the installation. I checked the disk usage. We are tight on disk space but not terrible. The 8GB MMC storage is workable if I don’t go crazy on packages and keep an eye on log rotation (logrotate.d).
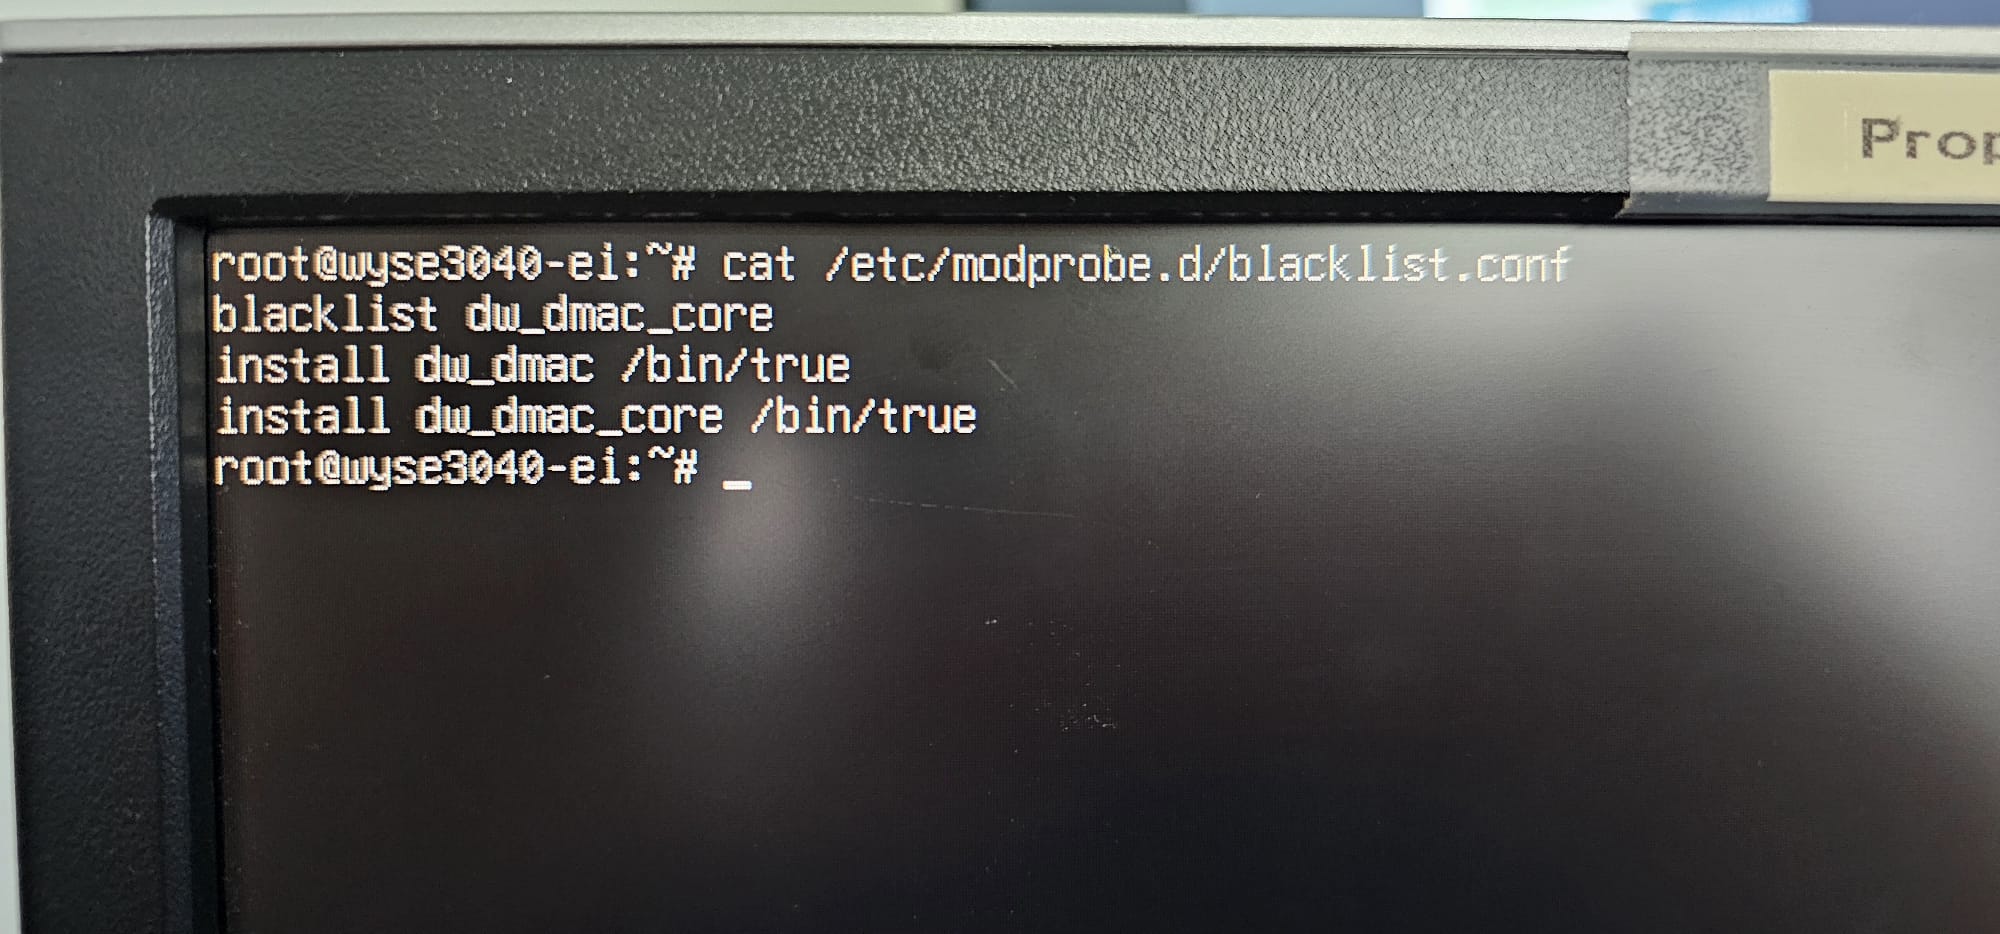
Once logged in you will need to create a file called /etc/modprobe.d/blacklist.conf that contains the following:
blacklist dw_dmac_core
install dw_dmac /bin/true
install dw_dmac_core /bin/true
I used the nano or vi editors to do this. This fixes an issue with the Wyse 3040 not rebooting correctly and locking up on power downs or reboots.
root@pve1:~# update-initramfs -u
update-initramfs: Generating /boot/initrd.img-6.1.0-20-amd64
Run the update-initramfs -u command to update the existing initramfs entries to save the kernel module changes above for the next boot. It can take a minute or two to complete.
Note: If you add Proxmox 8.8.2 (hint at later post), this will take an extended time to complete over the base Debian 12 update.
Type the command “exit” in the logged in session to return to the Rescue operations menu and pick “Reboot the system”. Remove the USB Thumbdrive used to boot and do the installation.
Note: You will need to add the intel audio firmware driver but I left that out as I really don’t need the feature right now. In several of the systems, I disabled audio in the BIOS to just dodge that whole issue. I may want to setup alerting or audio alarms later for things like remote UPS monitoring.
Note: The Atom CPU has virtual machine capabilities but with RAM at 2Gb, it is extremely limited. There is no easy upgrade option for RAM without seriously skilled soldering. The RAM is soldered to the motherboard along with the eMMC storage. So that is way beyond my skill but others have done crazy stuff like that.
This gives you a solid Debian 12 machine to do anything you want in your HomeLab. I have several of these deployed as Tailscale VPN endpoints that work very well. I will write up those installs in a later post. I have also used these as low-end cluster nodes for Proxmox 8.2.2 and it works quite well as a testbed. I’ll have a post on that coming shortly.
About the Author:
Michael McGarrah is a Cloud Architect with 25+ years in enterprise infrastructure, machine learning, and system administration. He holds an M.S. in Computer Science (AI/ML) from Georgia Tech and a B.S. in Computer Science from NC State University, and is currently pursuing an Executive MBA at UNC Wilmington.
LinkedIn ·
GitHub ·
ORCID ·
Google Scholar ·
Resume