I have collected nine (9) mostly functional Dell Wyse 3040 thin clients for use in my experimentation with Proxmox Clusters and SDN and Site-2-Site VPN configurations with Tailscale. Yes, I know I have a problem. :)
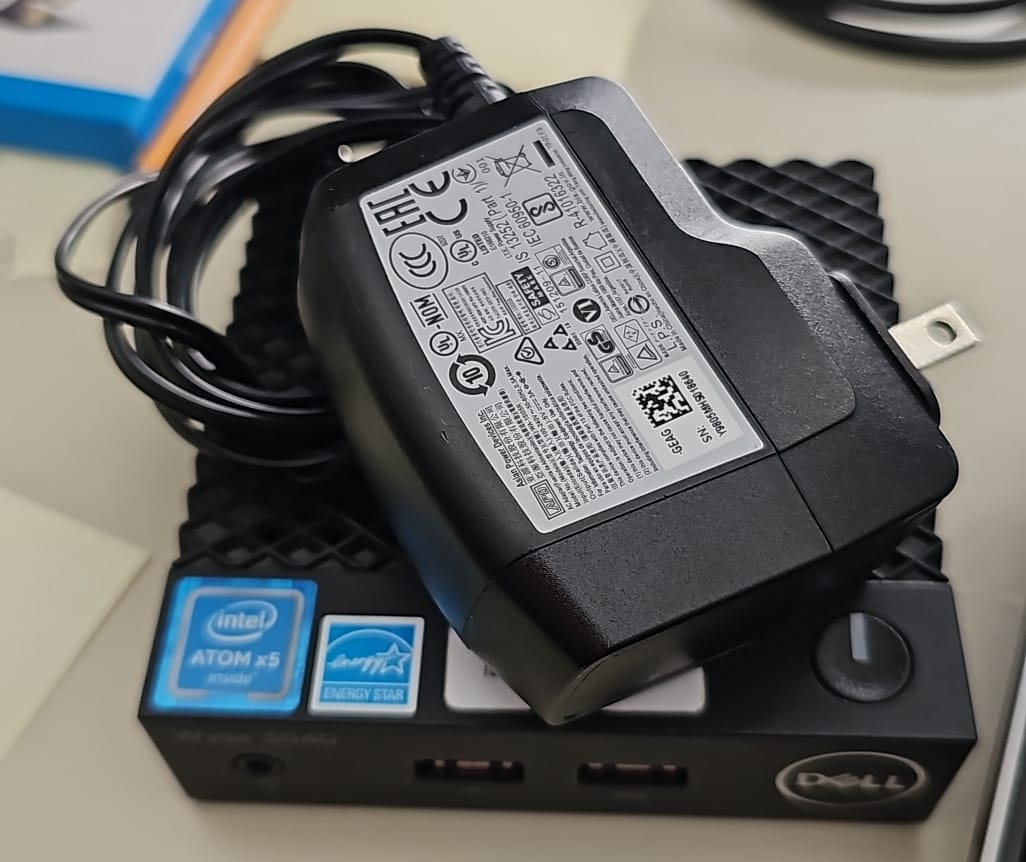
On the upside, they are very small low power consuming Debian 12 servers that have a 1Gbps NIC and run headless nicely once you fix the BIOS settings and Debian configuration correctly. What is not nice is their CMOS batteries are all mostly dying on me and their connector is a odd type that is not supported by many vendors and are between $8-$12 USD to replace. For example the Rome Tech CR2032 CMOS BIOS Battery for Dell Wyse 3040 is about $9.89 USD as of posting this. This bothers me intensely as the actual CR2032 can be picked up for well under a dollar ($1 USD) each at LiCB CR2032 3V Lithium Battery(10-pack) for a pack of 10 for $6 USD. Also, I’m picking these units up with power adapter for between $20 and $45 on eBay and the $10 bite jacks my price per unit up a good bit. So what to do?
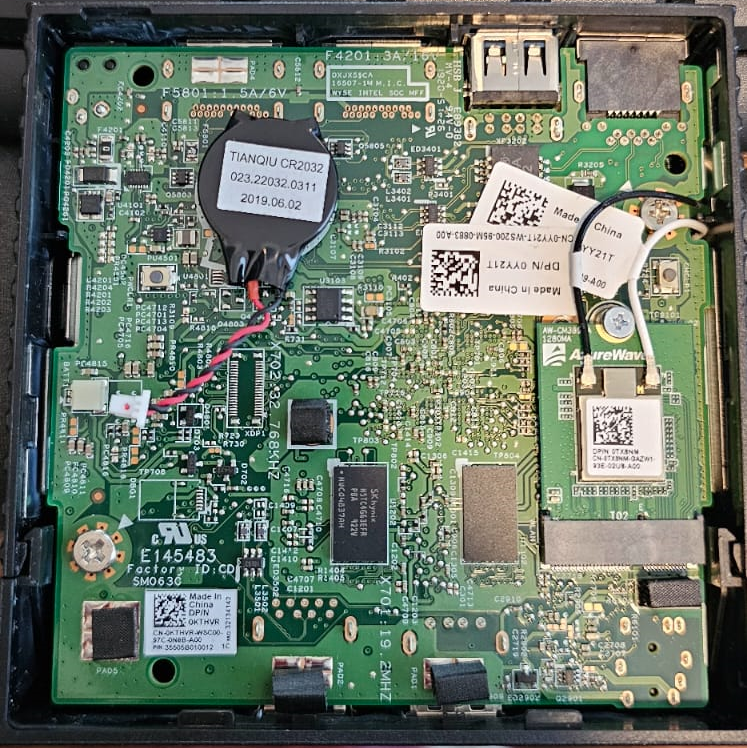
I thought originally that I would figure out how to solder the wire connectors to the CR2032 but I am horrible at soldering and absolutely hate doing it. A small arc welder to spot weld came to mind as well after I disassembled one of the batteries and saw how they spot welded thin pieces of metal to the wire and battery. Then I came to my senses and told myself no new projects. Spot welding is a whole project and I have too many languishing right now.
Thus my first jerry-rigged attempt at replacing the CMOS batteries was just using heat shrink with the original wires and thin pieces of metal. Surprisingly enough, it worked the first time, and the several other times I’ve had to replace the CMOS batteries. This will hopefully help someone else in the same bind that wants a cheap way out.
Below are some pictures of the process. You will need CR2032 batteries, some ~39/64” heat shrink, a heat source, double sided mounting tape, and a pair of needle-nose like plyers to do this.
Some of the Inventory and Costs
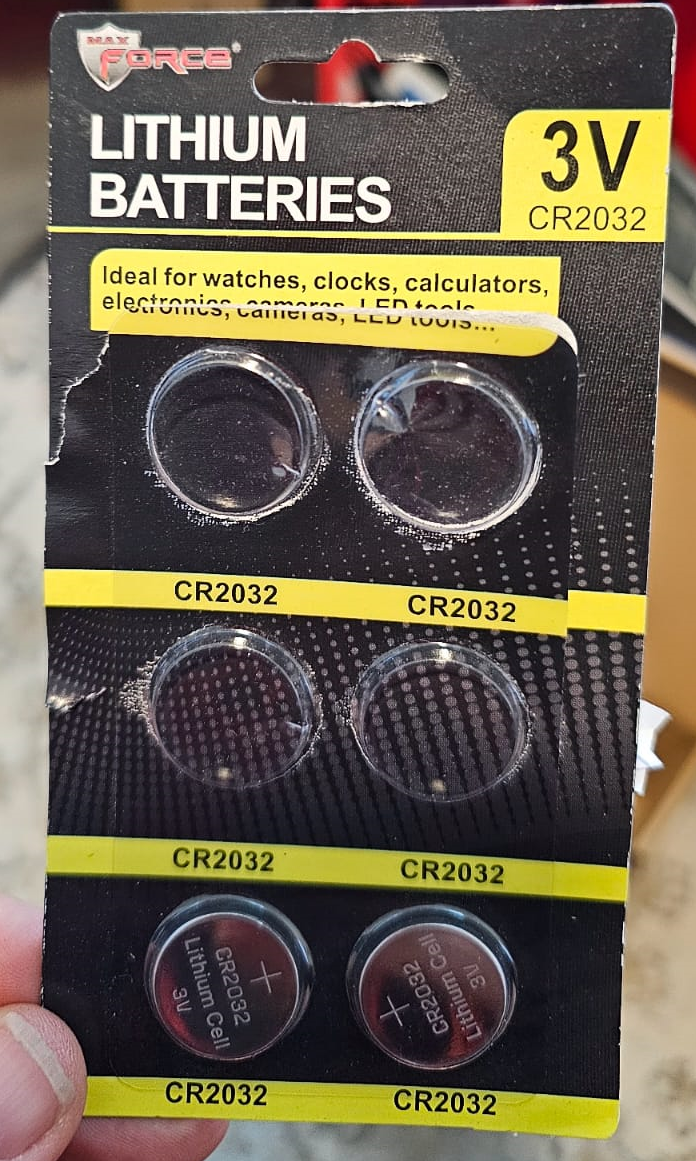
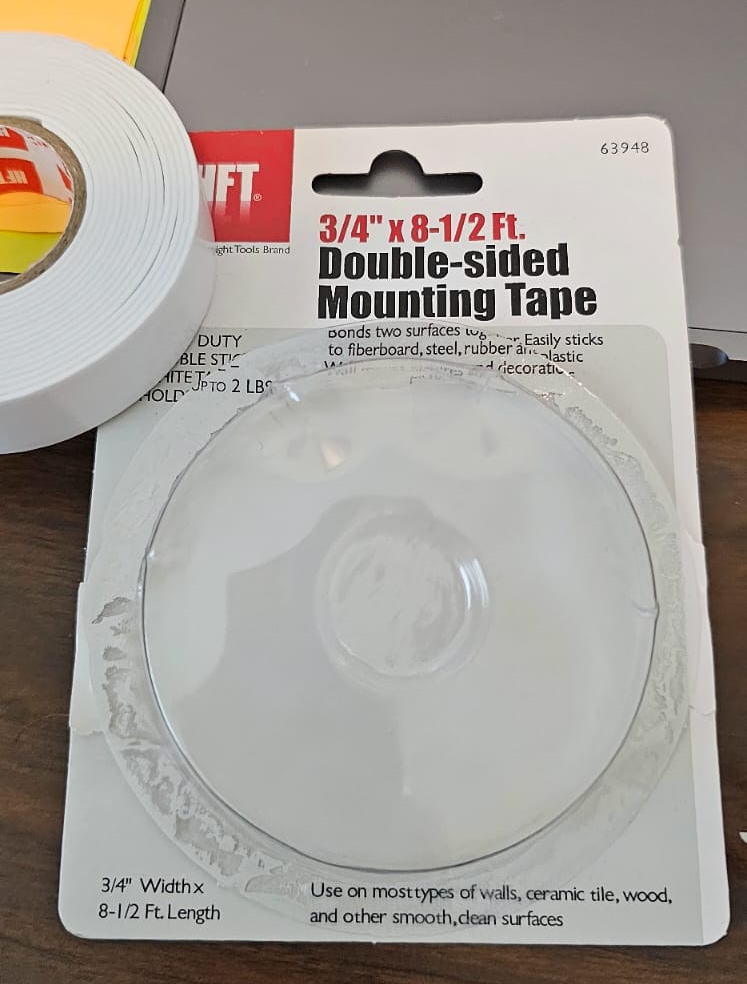
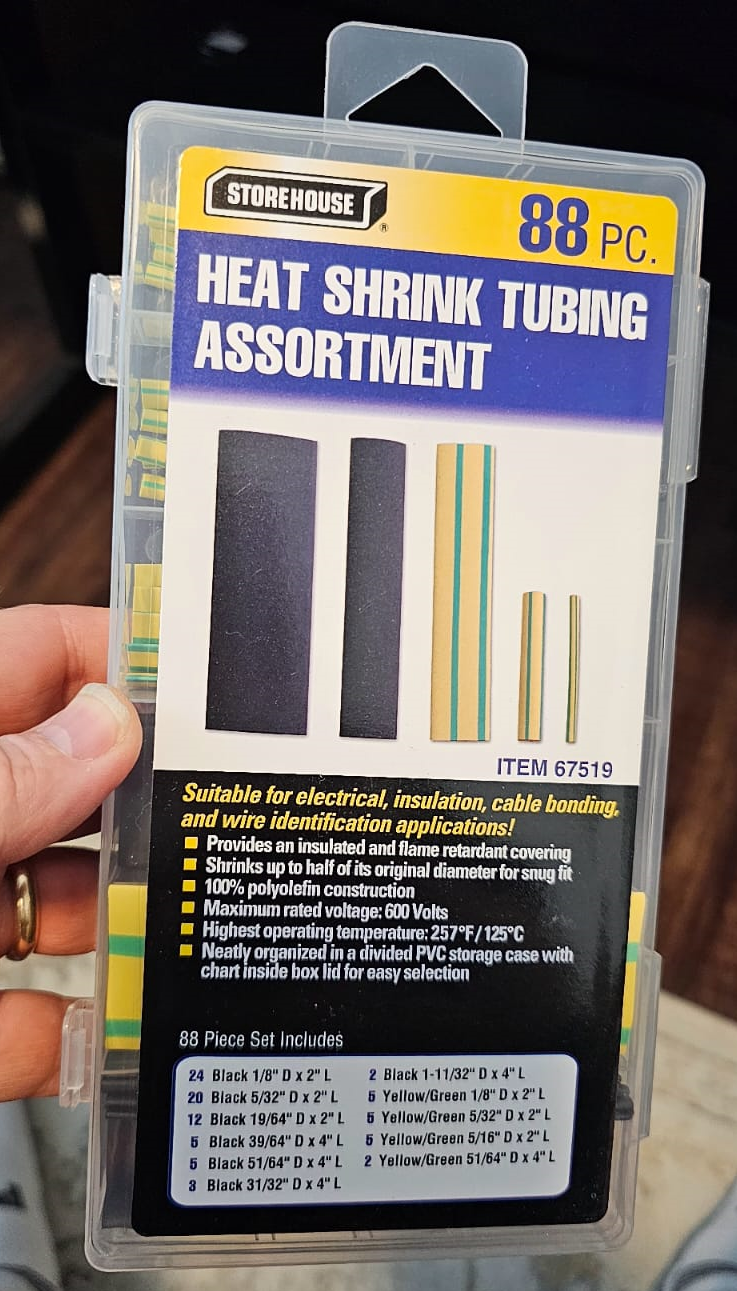
You’ll also need a cigarette lighter or heat gun to shrink the tubing. A needle nosed plyer will also be helpful.
I picked my supplies up at the local Harbor Freight.
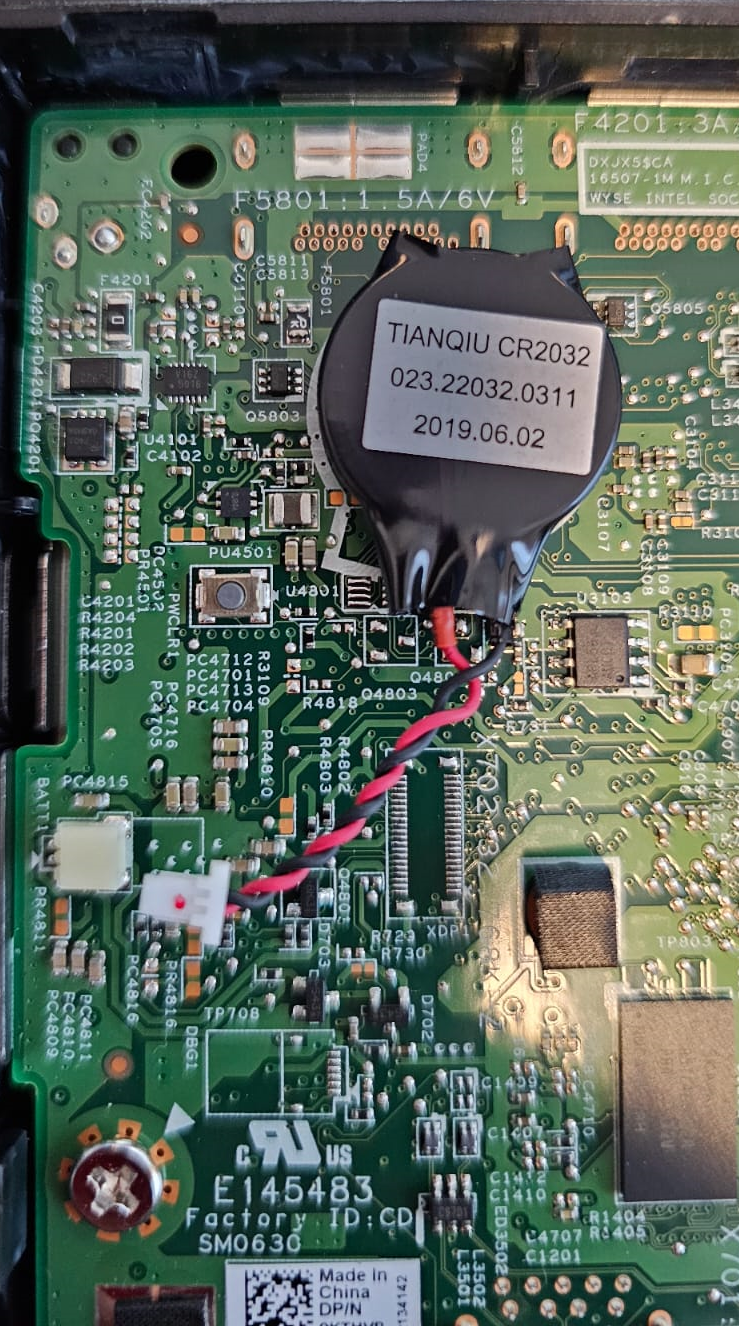
Once you have the Wyse 3040 opened up, you will immediate see the 1mm cmos battery in the upper left corner. It is affixed by a piece of double sided tape to the mother board. You will have to pull it hard to get it off. I suggest unplugging it first. This prevents damaging the connector or wire that you will need to keep.
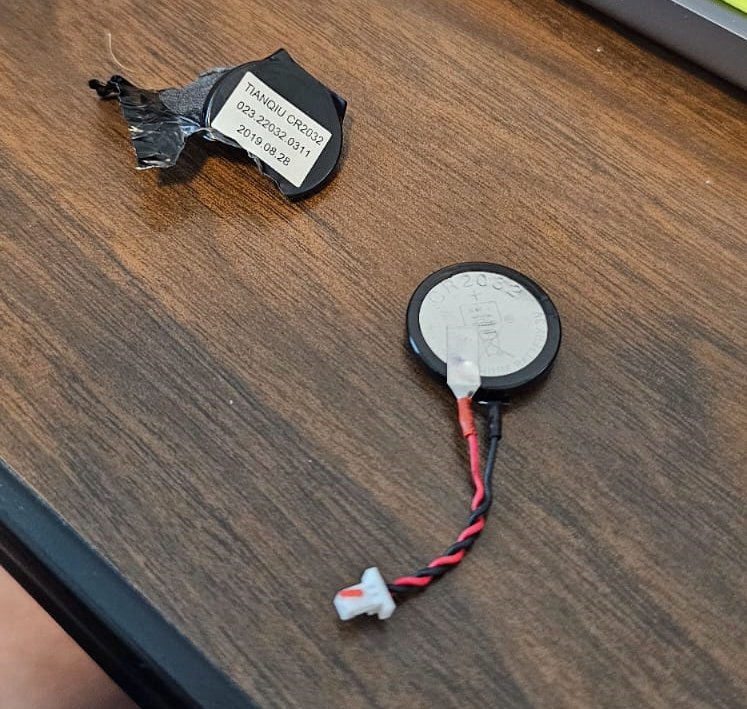
After pulling the battery off, you will need to get the heat shrink off the battery to expose the battery and metal connectors.
I usually at this point cut some heat shrink tubing to match the size of the battery before I pull the metal tabs off the expired battery.
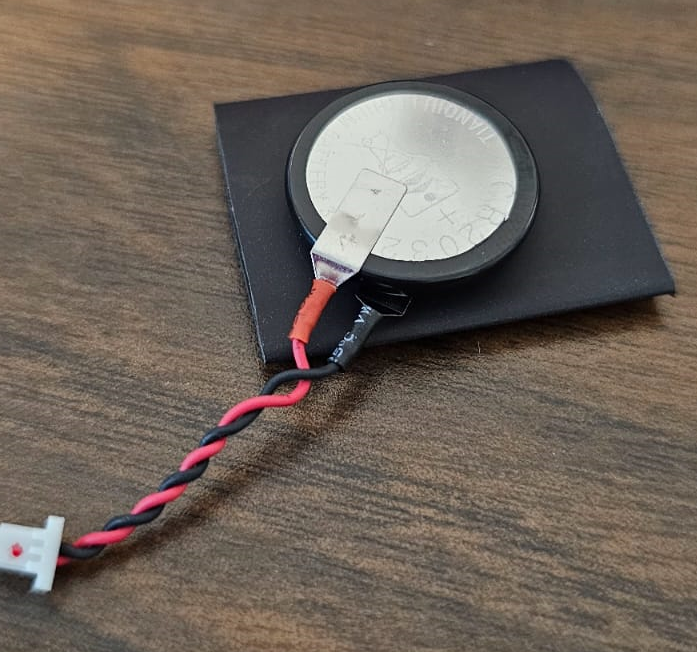
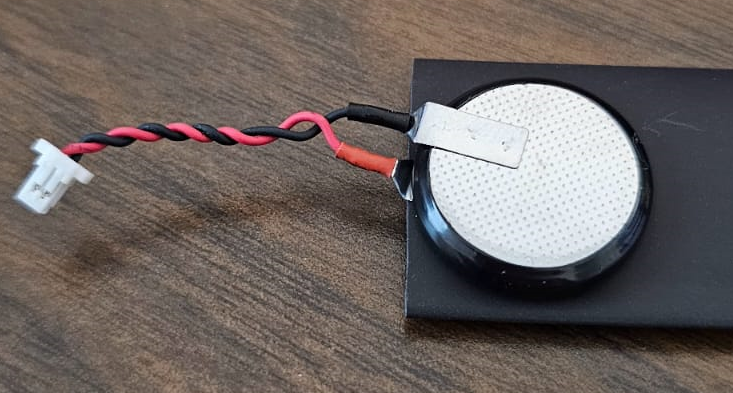
Next is gently prying off the metal tabs from the face of the battery. I used needle nose plyers and a gentle twisting motion to overcome the electric spot welds.
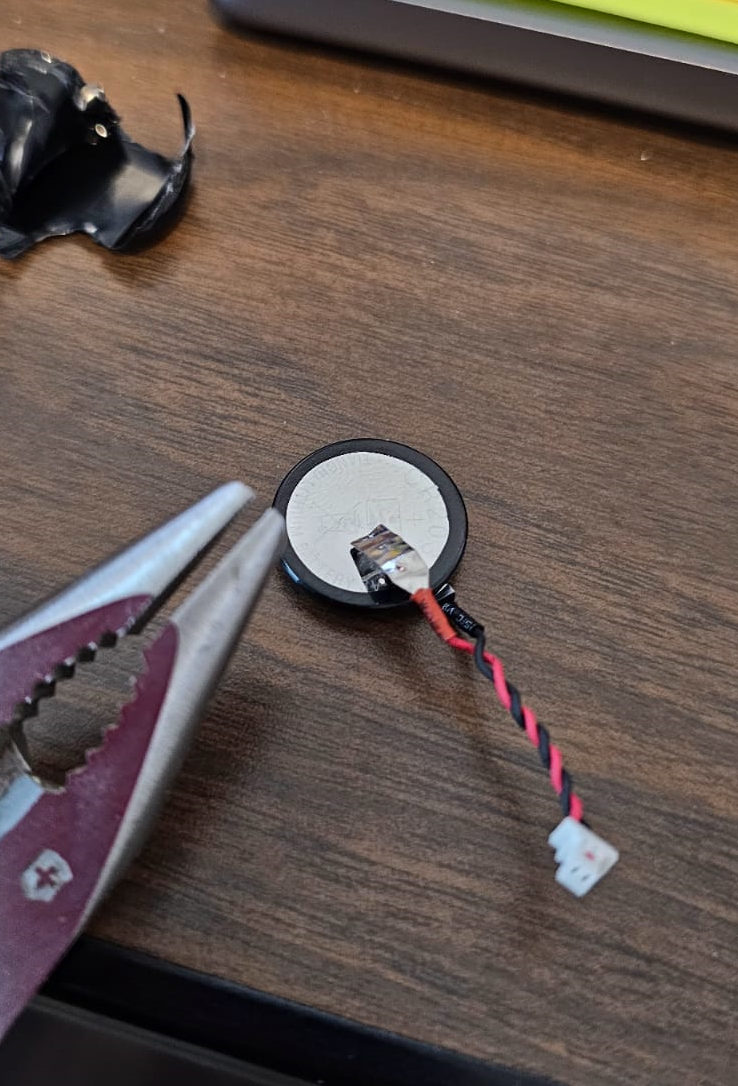
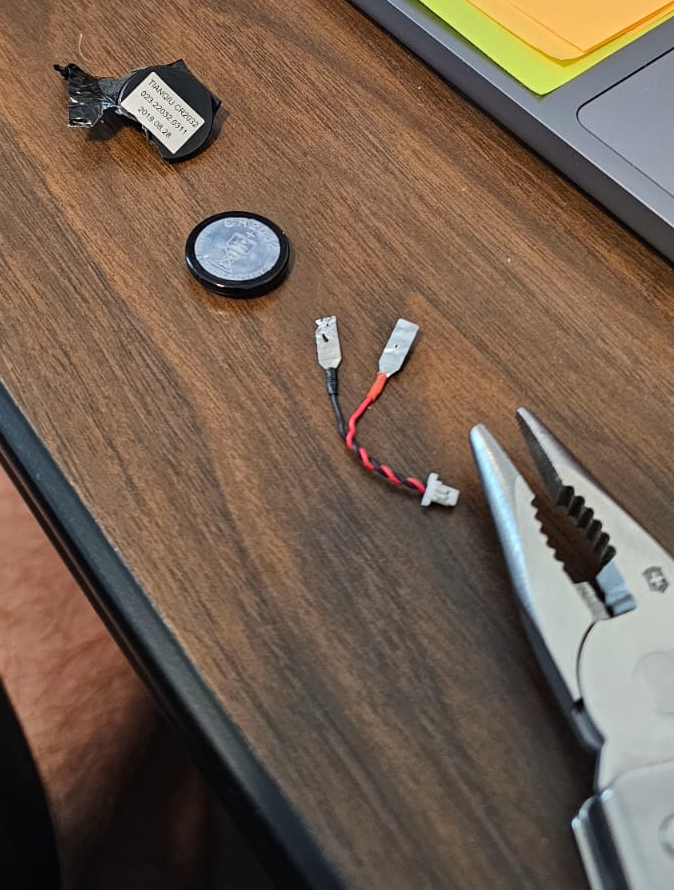
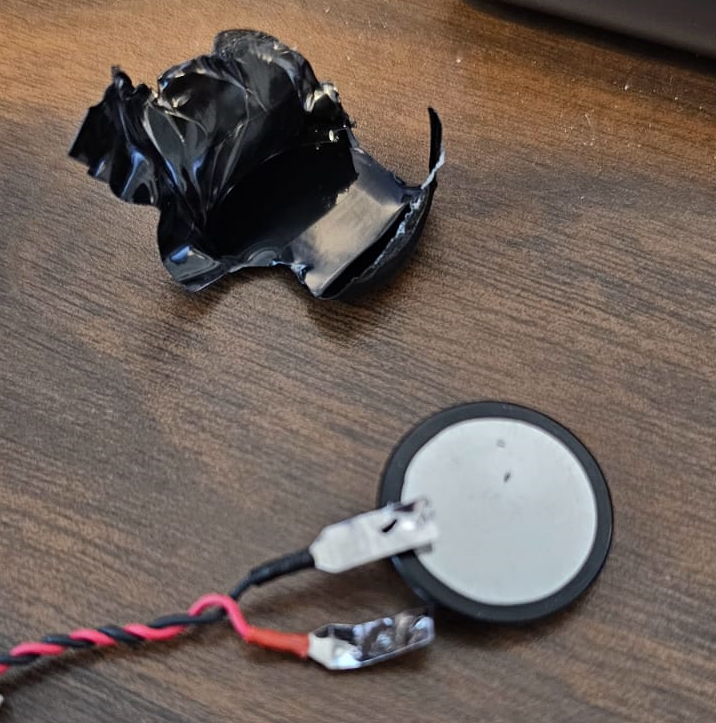
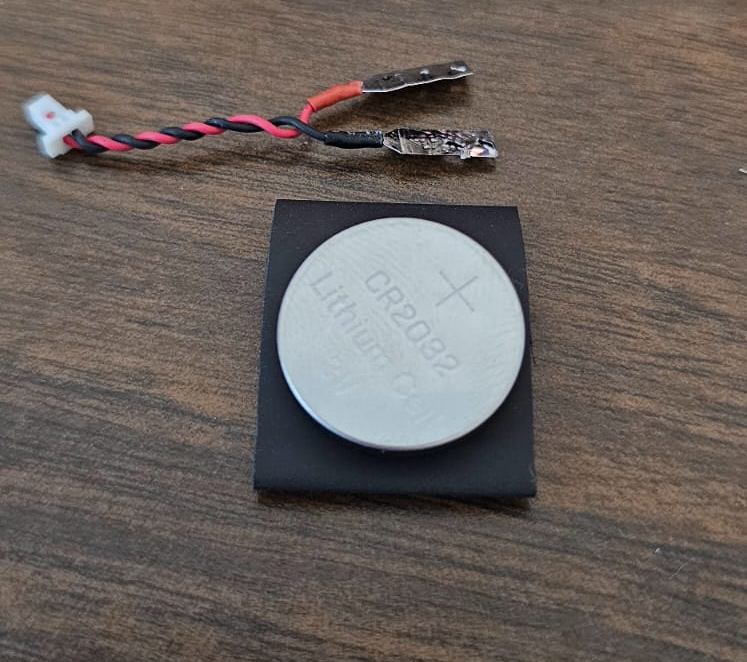
Next step is to place the metal tabs inside the heat shrink and I hold them in place with the plyers as I apply heat to shrink the tubing. I would recommend using the plyers to flatten the metal tabs so they are as flat as possible.
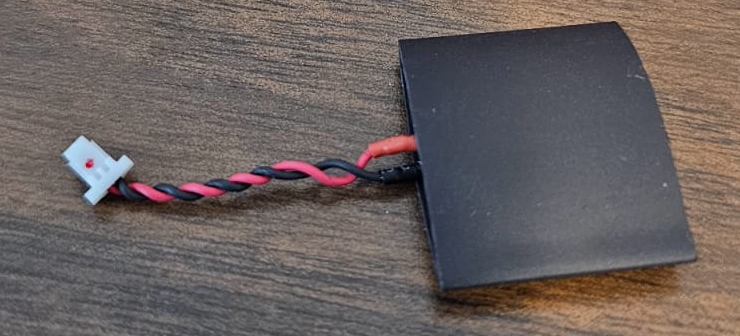
Make sure the heat shrink is tight and the metal tabs are flat and secured against the battery facings. Red cable on the (+) and black on the (-) side of the battery.
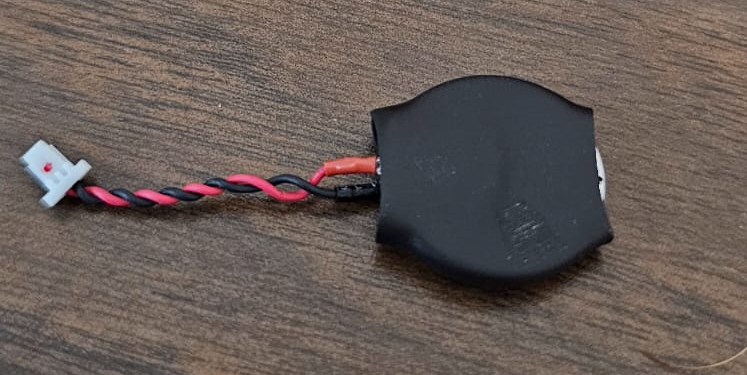
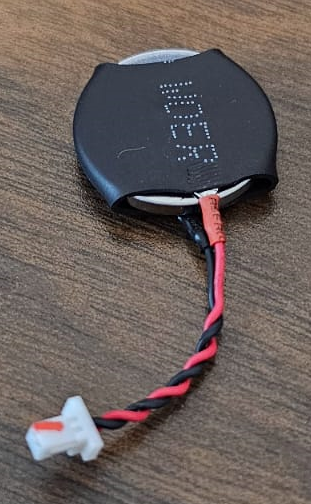
Last step is to put some of the double sided tape on the back of the battery and put it back on the motherboard. Then plug in the battery. Do not force the connector in. It only fits one way.
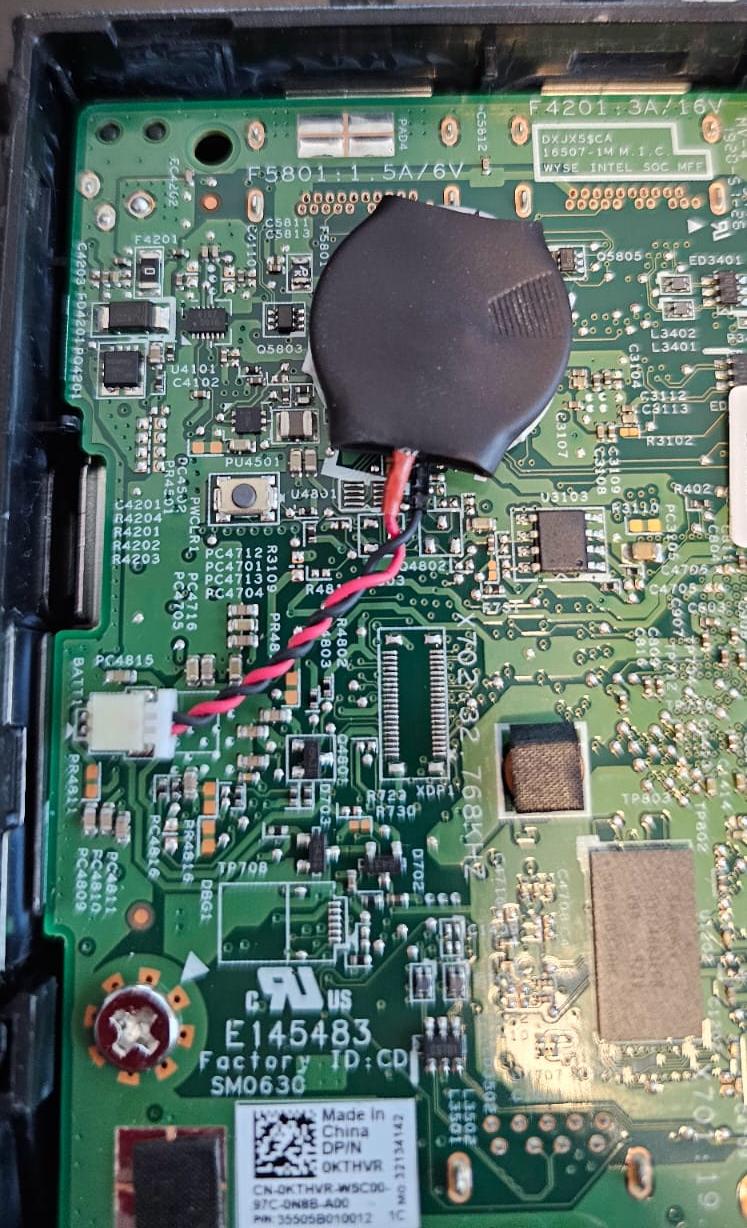
I added a little sticker to remind me the date I replaced the CMOS Battery and that it is not welded.
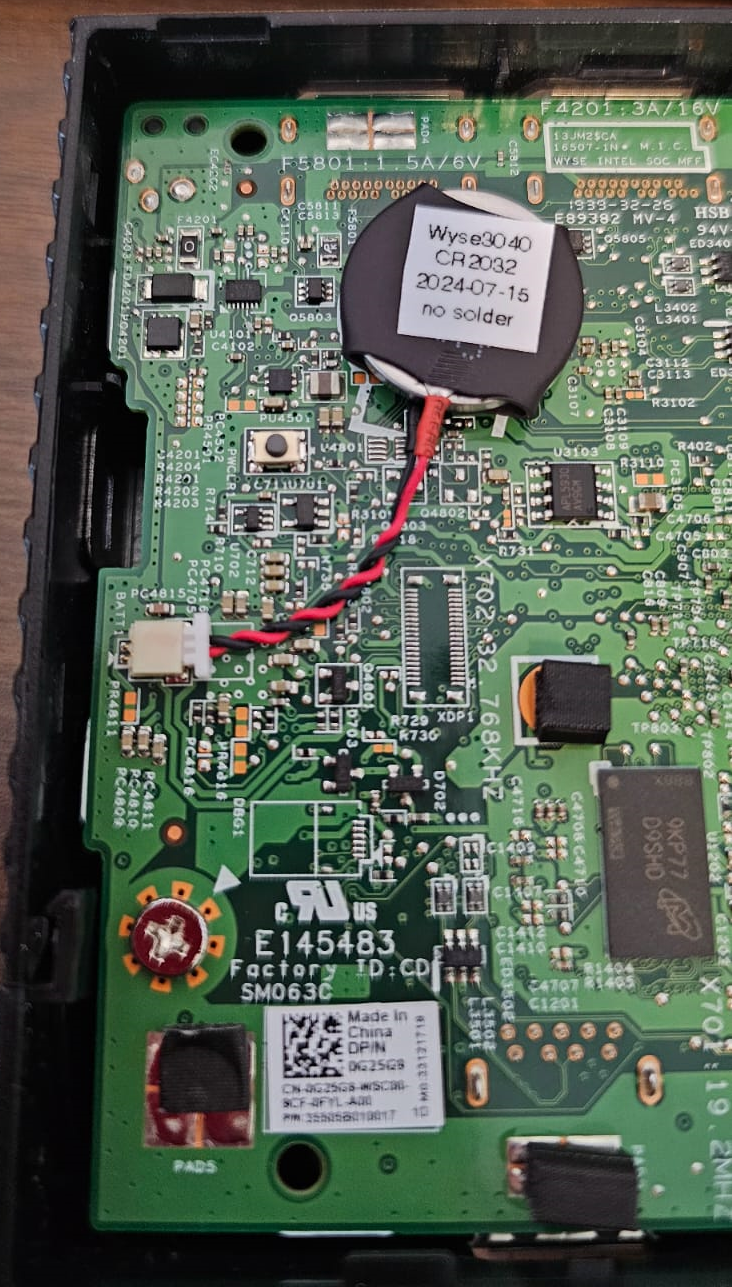
I have done about six or seven of these so far on my set of nine (9) Wyse 3040s. They all seems to be working fine. It makes no difference if they are 5v/3a or 12v/2a power adapter versions. If you are only doing one or two, then the $10 replacements might be a good choice. For me, this just made sense to make the investment.
Cheers from the frugal hardware hacking guy. Hope this helps someone out there.